


 Amit
Amit 
Do children love to draw? Turtles are the most curious and calm creatures among aquatic animals. The joy of drawing this extraordinary creation of nature with your own hands is unique! If you are looking for an easy guide to drawing a wonderful turtle for your child or for yourself, then this article How To Draw A Turtle is just for you. By following this step-by-step guide, you can easily learn How To Draw A Turtle. From the very first step to creating a colorful picture, each step is clearly outlined here. So without further ado, let’s get started with How To Draw A Turtle – very easily!
✍️ How to Draw a Turtle Step by Step
Here is a step-by-step guide to drawing a turtle based on the picture you provided:
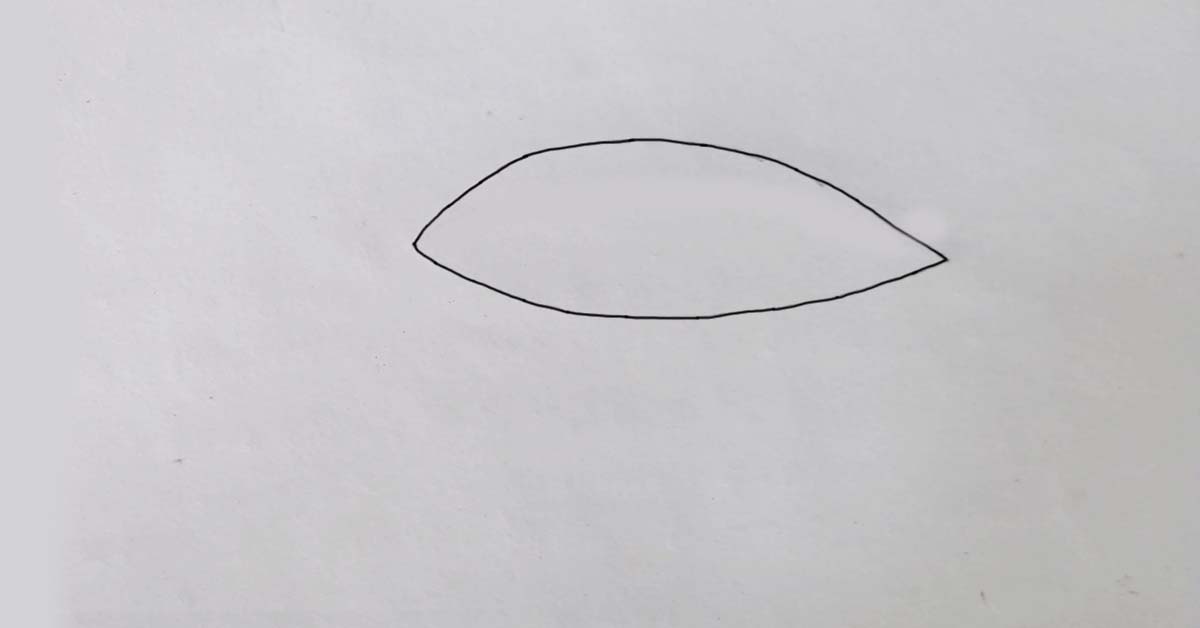
Step 1: Initial shape of the shell
- First, draw a basic structure for the turtle’s shell, a nut-shaped or oval shape, in the middle of your paper. It will be slightly convex at the top and tapering at the sides. This will be the center of the turtle’s entire body.
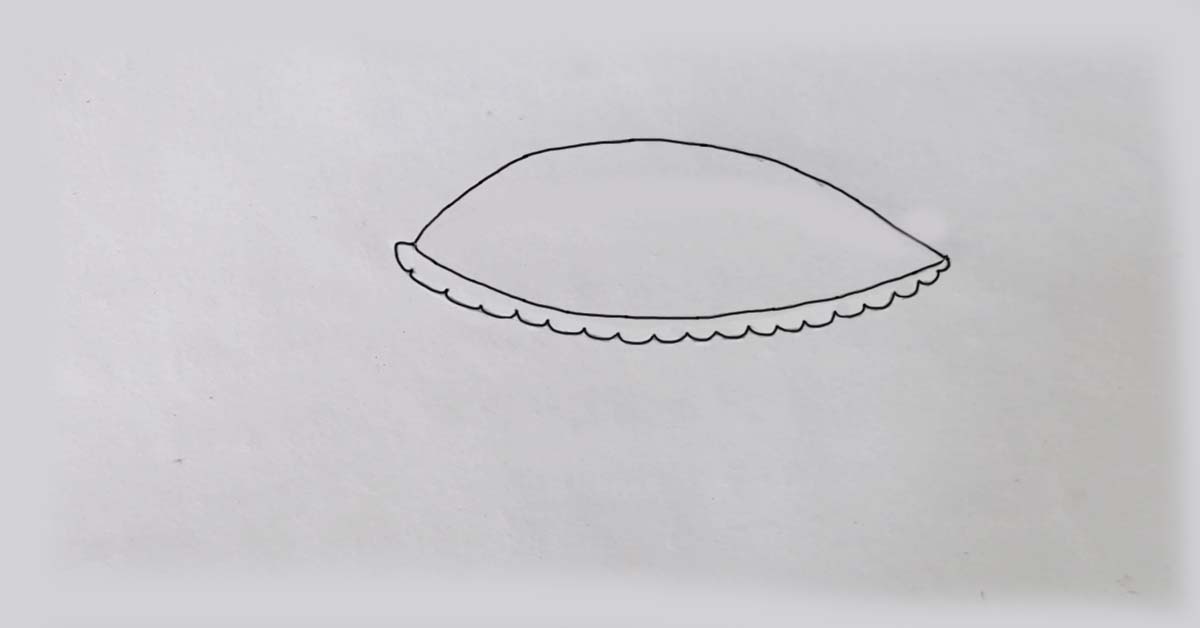
Step 2: Bottom of the shell
- Now it’s time to draw the bottom of the shell. Add another wavy or curved line parallel to the bottom line of the oval from step one. This wavy line will represent the junction of the turtle’s upper and lower shells.
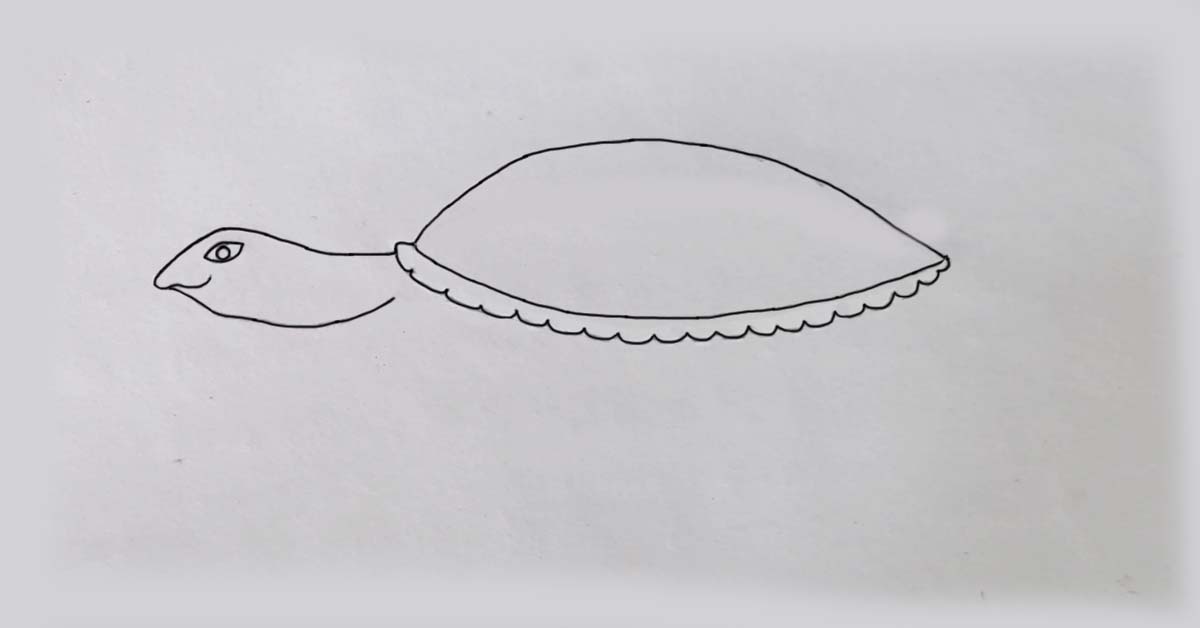
Step 3: Head and neck
- Draw a long, curved line from the left side of the shell to create the turtle’s neck. Add a smooth, oval head to it.
- Draw a small circle on top of the head and another small circle inside it to create the eyes. Draw a small curved line below the eyes to draw the face.
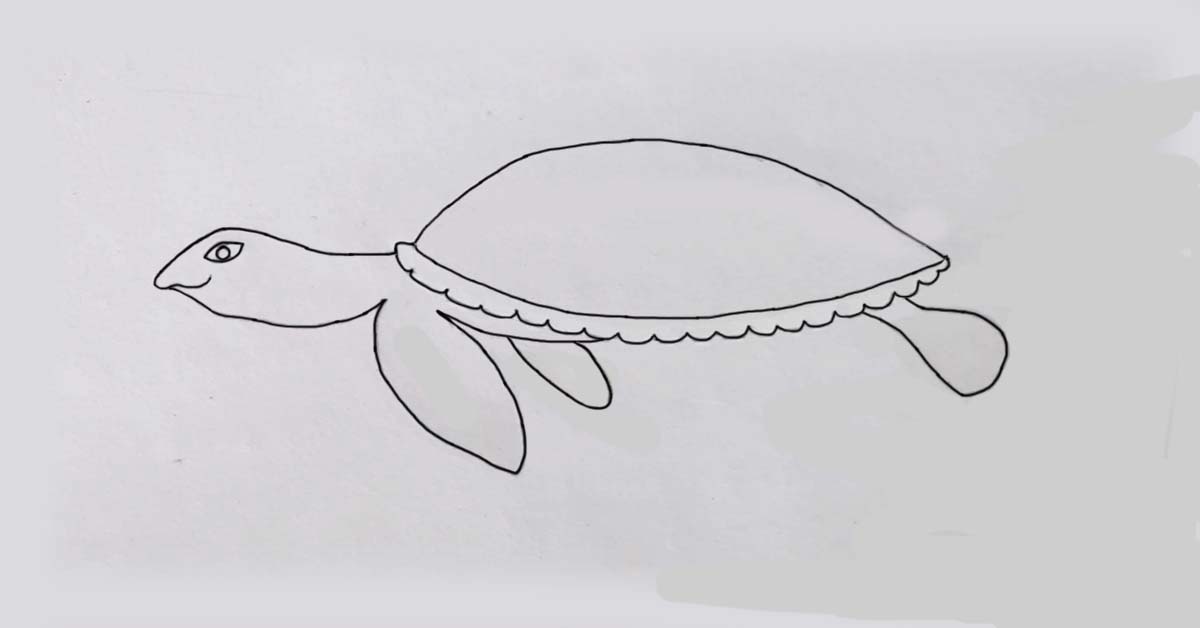
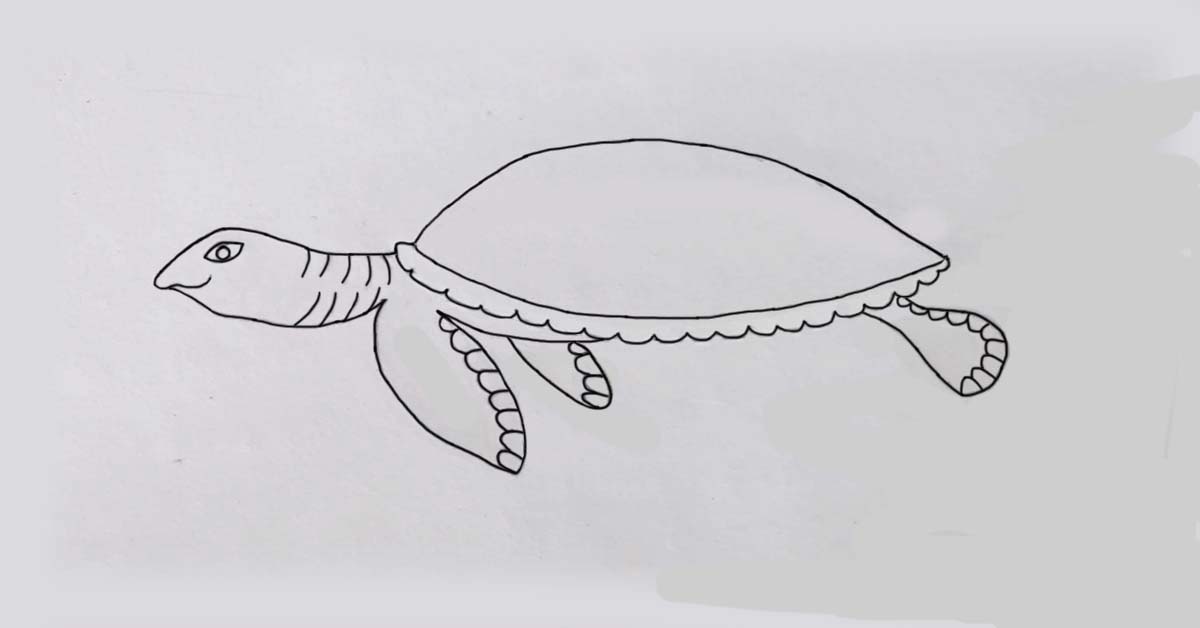
Step 4: Front flipper and rear flipper parts
- Now draw the flippers or swimming legs of the sea turtle. Draw a leaf-like shape or large flipper from the left side of the shell downwards. This will be the front flipper.
- On the right side, from the back of the shell, draw a small oval shape to create the rear flipper.
Step 5: Detailed view of the flippers
- In this step, make the flippers more realistic. Draw small curved lines on the front flipper to highlight its folds or muscles.
- Draw small wavy lines at the end of the back flipper to indicate its finger-like parts or edges.
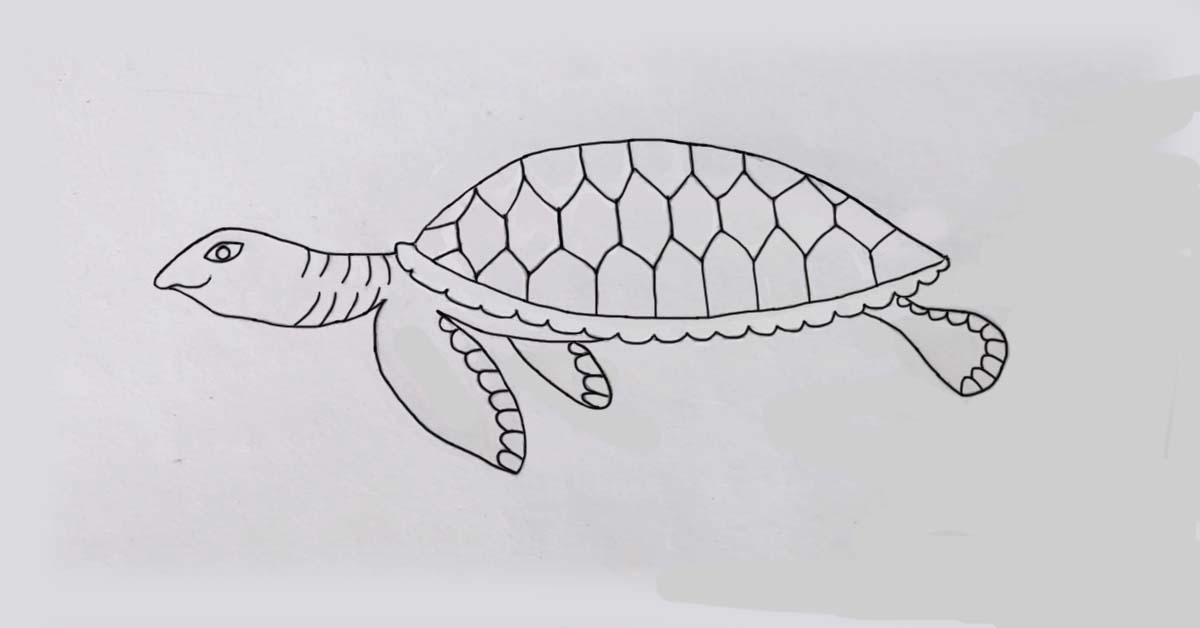
Step 6: Shell pattern
- Create the basic geometric design of the turtle shell. Create a lattice-like design on the shell by combining hexagonal and irregular pentagonal patterns. This design will make the shell look beautiful.
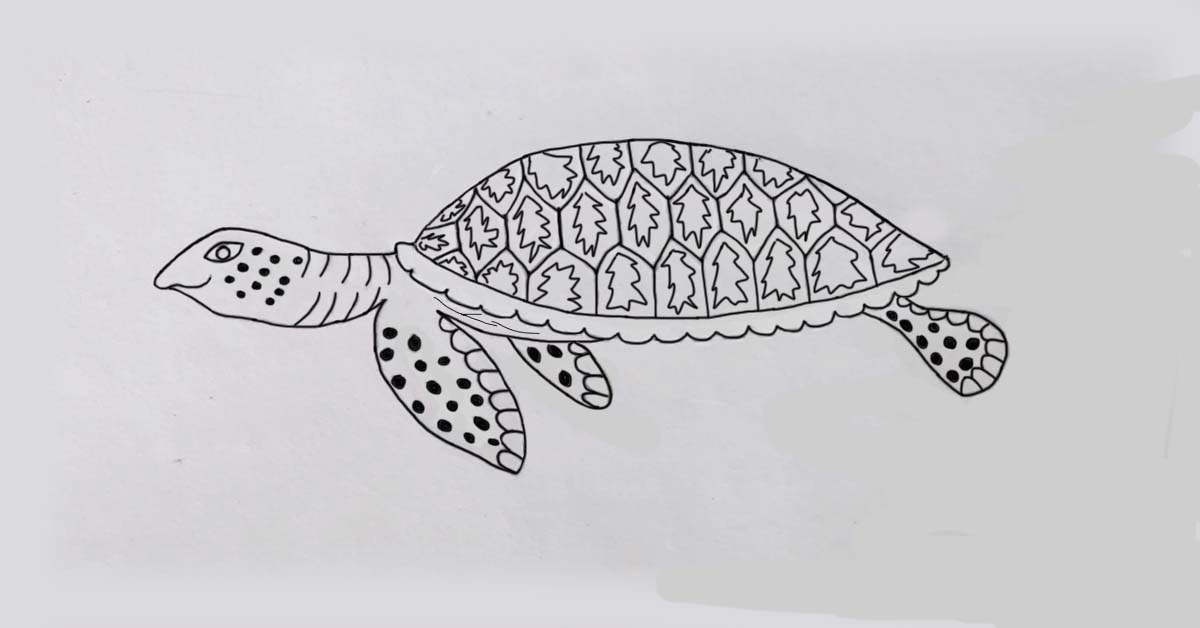
Step 7: Design on the face and flippers
- To make the turtle more attractive, add designs to the flippers and head in this step. Add small dots or drops on the top of the flippers.
- Similarly, draw these drops on the front of the head and on the edges of the flippers.
- Add another wavy line along the edge of each hexagon and pentagon inside the shell pattern.
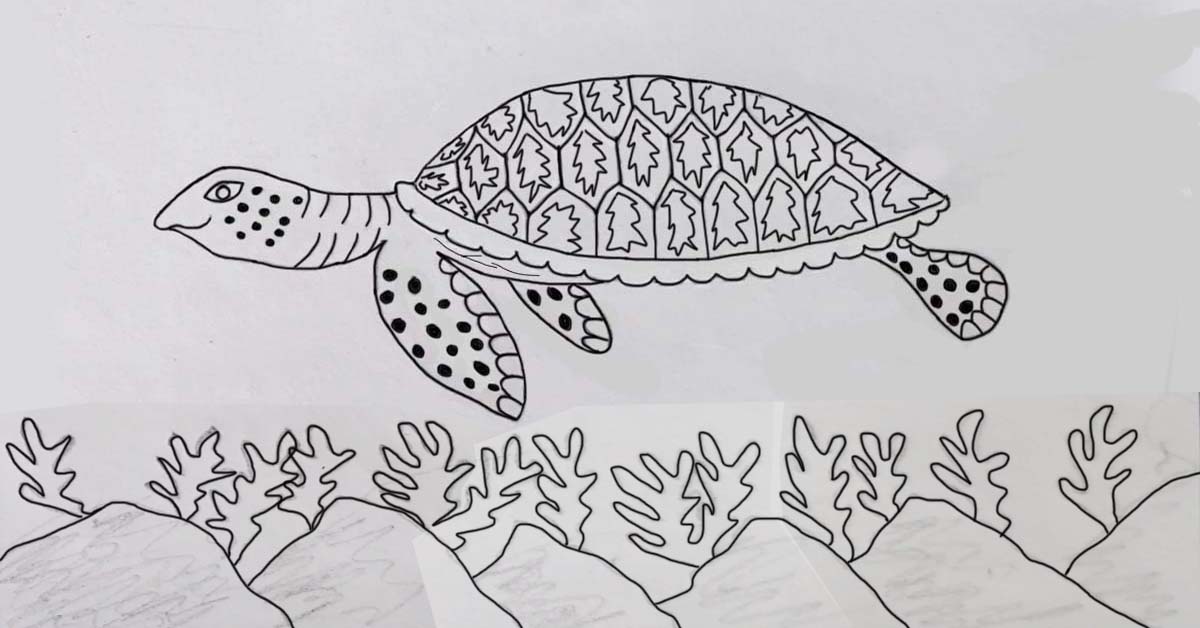
Step 8: Add the aquatic environment
- To complete the turtle picture, create an aquatic environment below. Draw some shapes like rocks below and aquatic plants or moss on them. This will give the picture a nice background.
Step 9: Paint
- Congratulations! Your turtle drawing is now complete. In this final step, color it with your favorite colors.
- Typically, turtle shells are green, olive, or brown. The flippers and head may be light green. Also color the rocks and aquatic plants drawn below with natural colors.
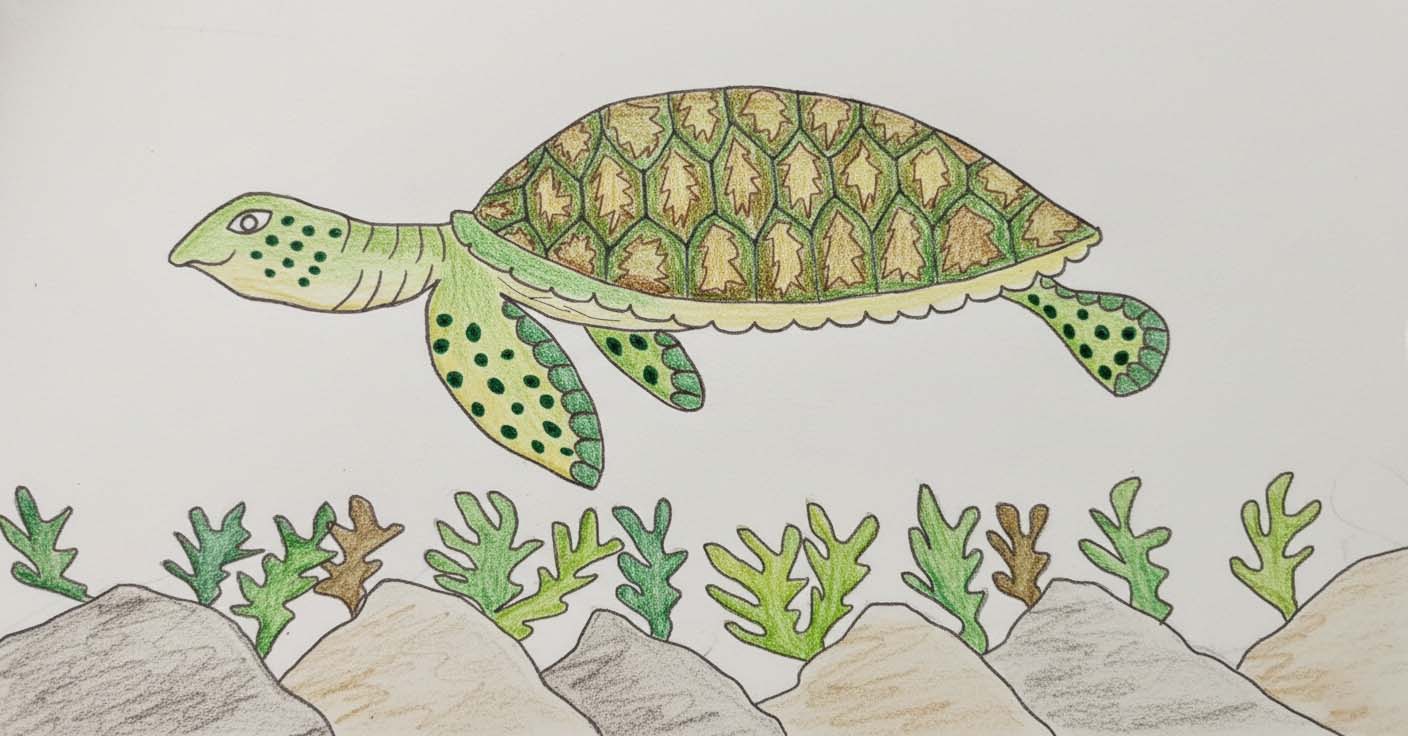
Your painted turtle is now ready to swim in the sea!
Watch Sea Turtle Drawing Video
🐢 Conclusion
By following these 9 easy steps, we hope you and your children have been able to draw a beautiful turtle with ease. The process of drawing is not only about creating a picture, it also increases curiosity about nature and encourages creativity. Remember, drawing is a skill that gets better with practice. This turtle you drew is a great start to your artistic journey.