


 Amit
Amit Does your child often get bored or is eager to do something new? Are you looking for an activity that is not only fun but also educational? Then Salt Painting could be the best solution for you. It is a wonderful art project that can be done with some very simple ingredients like salt, glue, paint, and the results are so interesting that kids are bound to be fascinated.
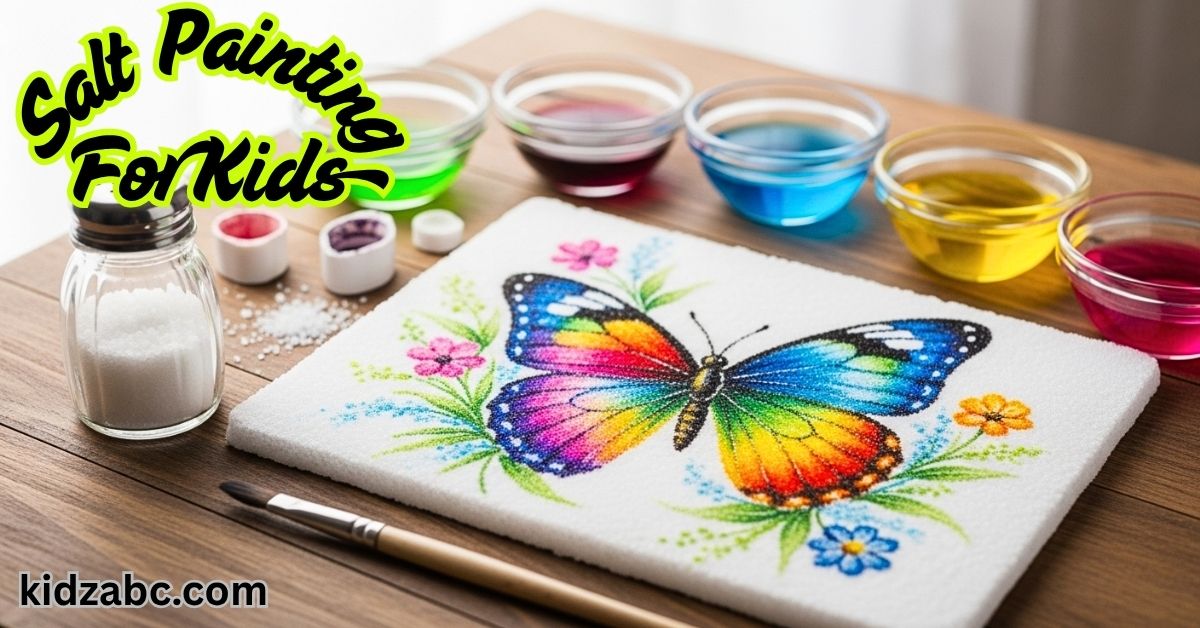
Salt painting is not just a simple craft; it is a wonderful combination of science and art. When children see how the colors spread like magic on the salt, they are amazed and curious. This easy and affordable project helps children develop their fine motor skills and gives their creativity a new dimension. Let’s learn the step-by-step method of making this amazing salt painting today.
📷Materials Needed To Make Salt Painting:
- Thick paper or cardstock: Watercolor paper is best, as it doesn’t get damaged easily by watercolors.
- White glue: such as Elmer’s Glue.
- Table Salt: Any common table salt will do.
- Watercolor: If you don’t have watercolor, you can also mix a few drops of food coloring with water.
- Paint brush: For applying color.
- Pencil: For drawing designs.
- Large plate: For shaking off excess salt.
🪄 7 Easy Steps To Make Salt Painting
We have divided the entire process into 7 easy steps, so that it is easy for your child to understand and do.
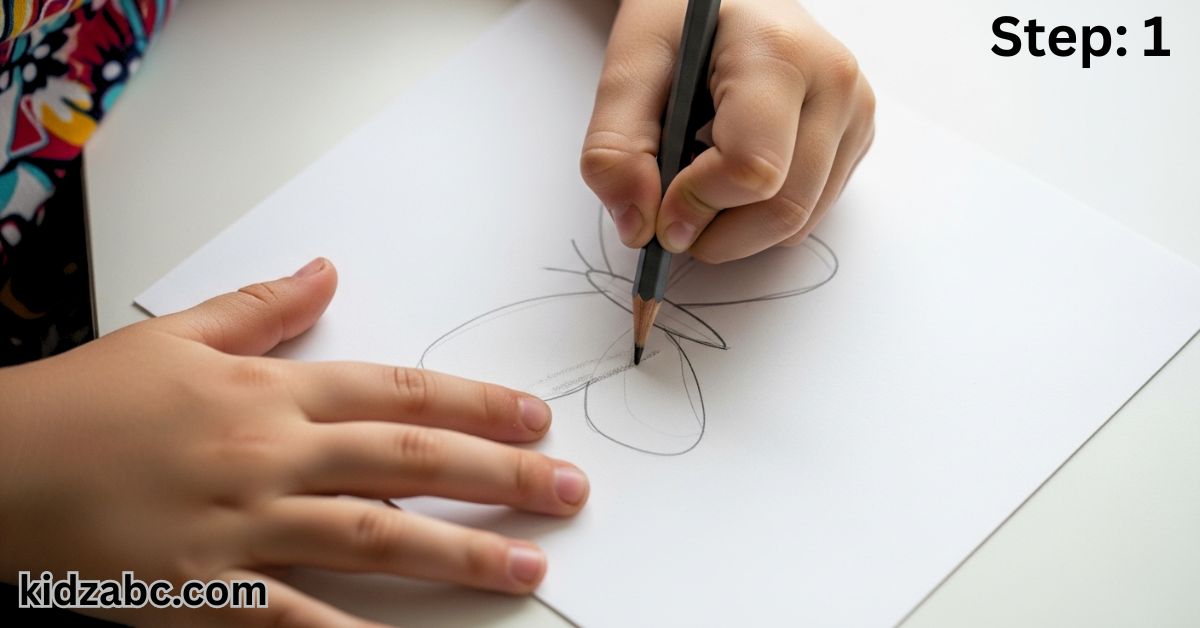
🖌️Step 1: Create a design of your choice
First, draw any design or picture of your choice with a pencil on thick paper. It can be a flower, butterfly, star, car, or any simple shape. Choose a large and simple design for young children.
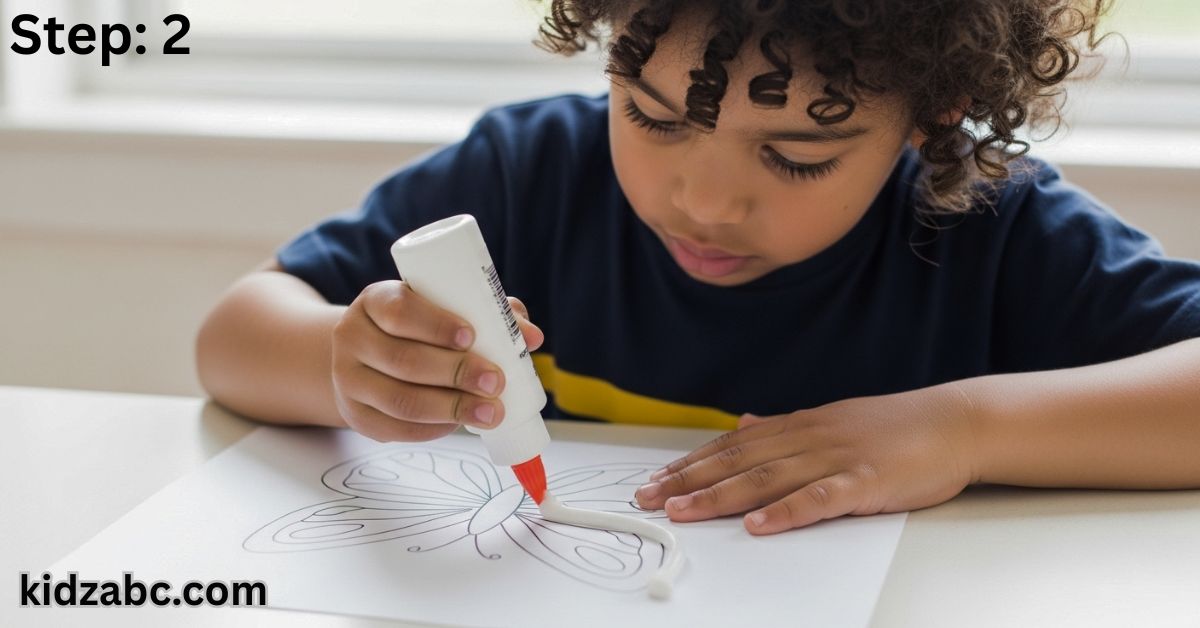
🧴Step 2: Draw the design with glue
Now, carefully apply white glue over the penciled design. Be careful not to make the glue lines too thick or too thin. This is a great exercise for children’s fine motor skills.
🧂 Step 3: Sprinkle salt on the glue
Sprinkle a generous amount of salt on the glue before it dries. Ensure that every part of the glue is thoroughly covered with salt. Kids will have so much fun doing this!

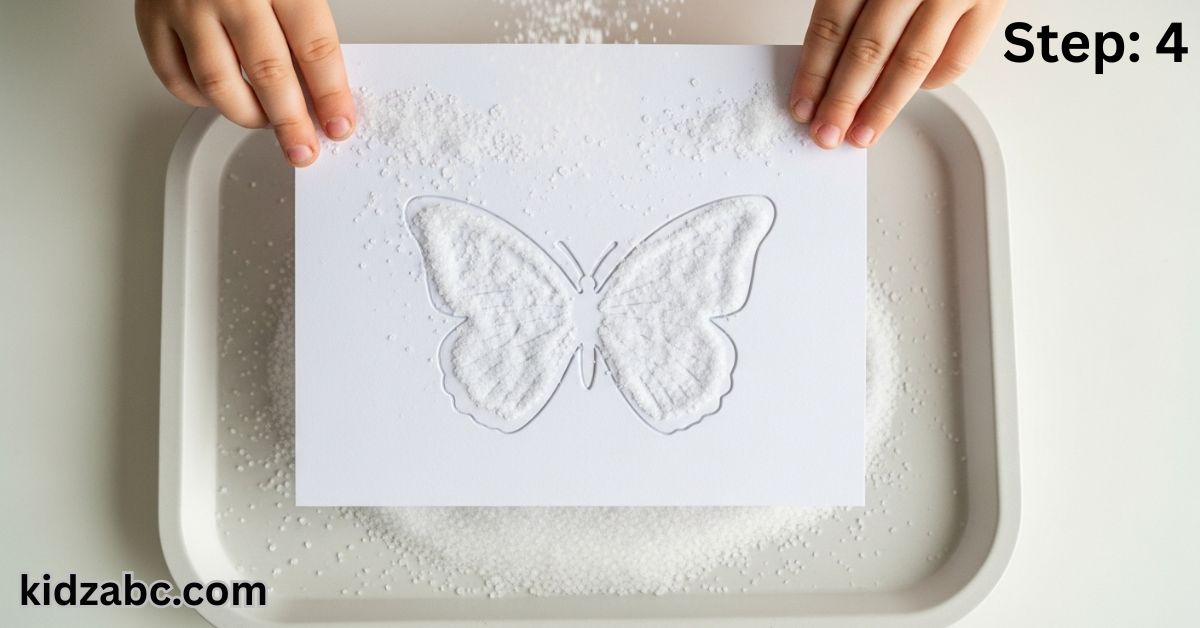
🧂 Step 4: Shake off excess salt
After waiting about 30 seconds, gently lift the paper onto a tray or plate and shake off the excess salt. You will see that the salt has only stuck to the sticky part, and your design now has a nice salt outline.
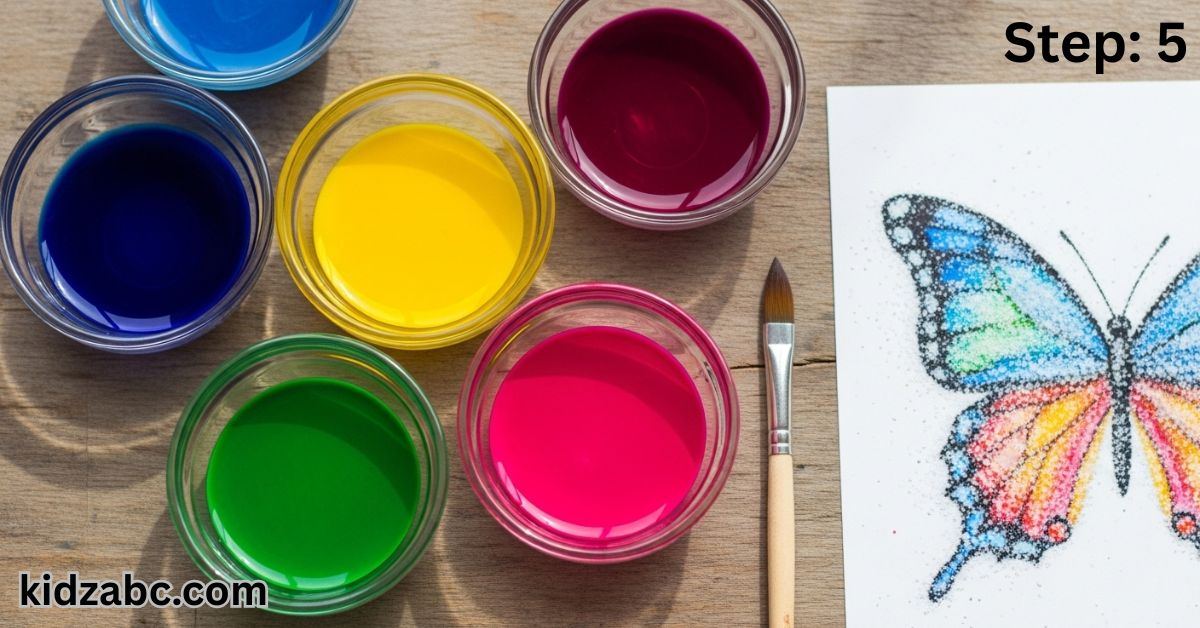
🎨Step 5: Prepare the colors
Take your favorite watercolors in a small container. If you don’t have watercolors, make your own colors by mixing a few drops of food coloring with a little water in a few separate bowls.
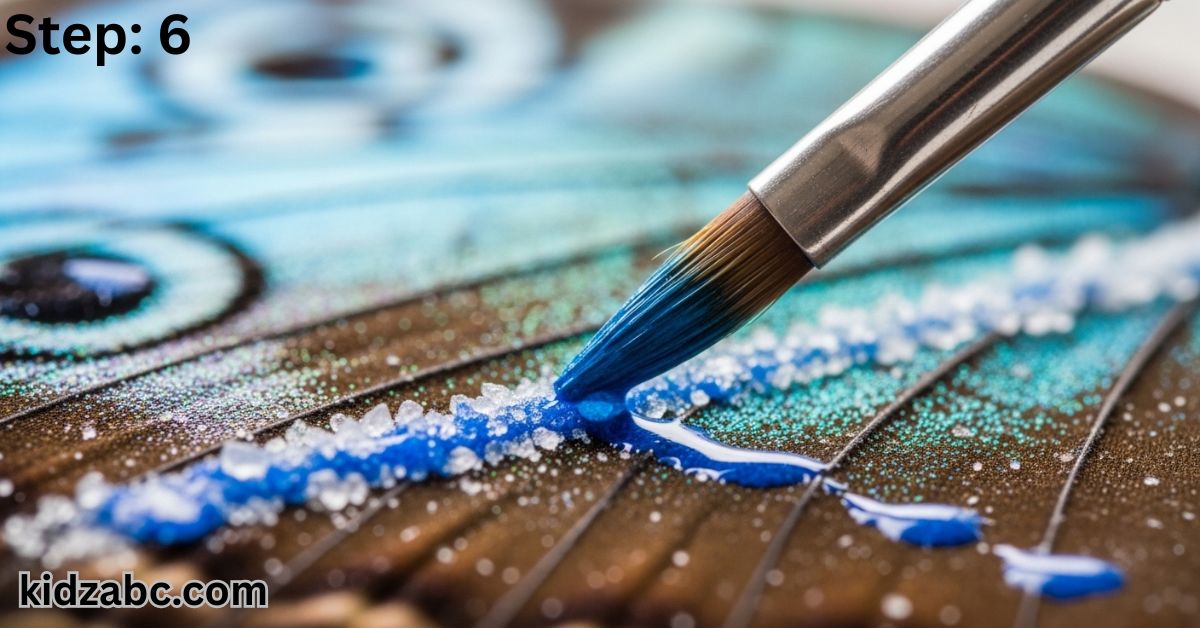
🌈 Step 6: Apply the paint to the salt
This is the fun part! Dip a brush or dropper into the paint and gently touch the line of salt. You don’t have to drag the brush along the entire line. Just add a drop of paint and watch it magically spread through the salt! Make your painting more interesting by using different colors.
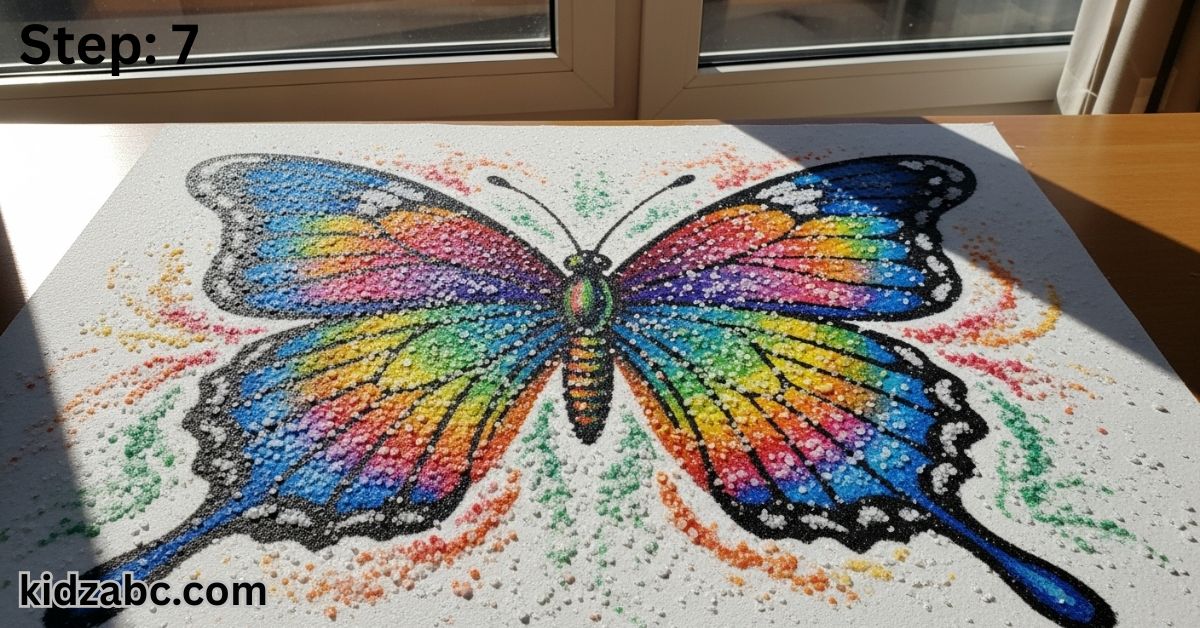
⏳Step 7: Wait for the painting to dry
Your beautiful salt painting is now ready! Leave it on a flat surface for a few hours or overnight to dry completely. Once dry, it will become a beautiful, textured, and three-dimensional (3D) work of art.
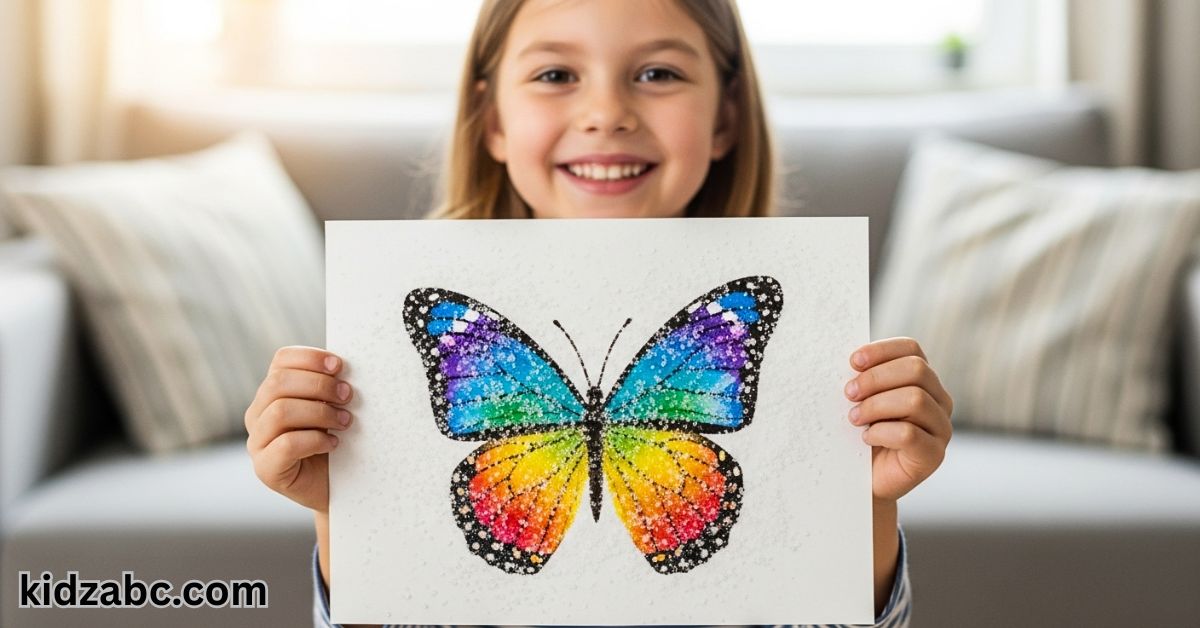
Salt painting is not just an art project; it is an experience. It helps in developing patience, creativity, and concentration in children. This beautiful work of art can be made with very few materials at home. So the next time your child wants to do something new, definitely try this fun and magical salt painting. The first salt painting that your child makes will surely be a special memory for both of you.
❓Some common questions and answers (FAQ)
Q1: Can any paper be used for salt painting?
Answer: No, it is best not to use regular writing paper or printer paper. This is because it can tear when wet with watercolors. Using thick paper like cardstock or watercolor paper gives the best results.
Q2: I don’t have watercolor or food coloring, can I use other colors?
Answer: The main attraction of this painting is the color spread, which is only possible with liquid colors. So, watercolor or food coloring works best. Poster colors or acrylic colors will not work here.
Q3: How long does it take for the painting to dry?
Answer: It depends on the amount of glue and paint. Generally, it can take 6 to 24 hours to dry completely. Putting it under a fan will help it dry faster.
Q4: Is this activity safe for young children?
Answer: Yes, it is completely safe. However, it is best to ensure that young children do not put salt or paint in their mouths. The entire activity should be done under the supervision of parents.