


 Amit
Amit 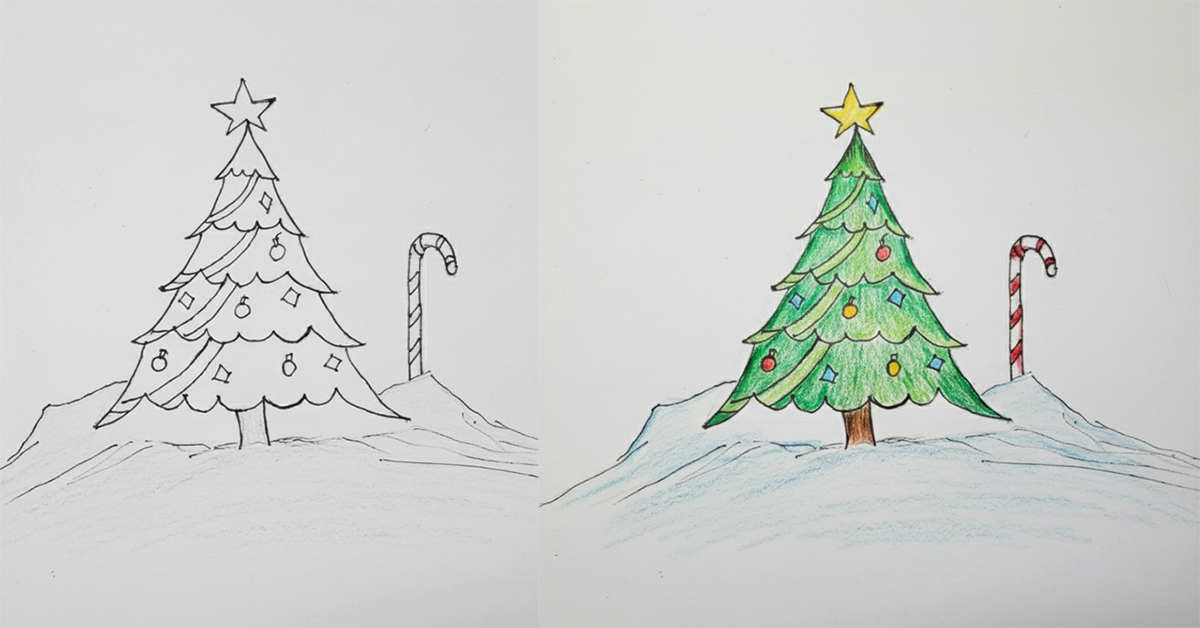
Christmas is all about joy, gifts, and colorful decorations! And at the center of it all is a sparkling Christmas tree. We’ve all tried to draw a Christmas tree at least once as kids, haven’t we? In this article, we’ll show you How To Draw A Christmas Tree — in 7 easy steps, perfect for your little ones. Each step is explained in such a simple way that your child will be able to draw a beautiful Christmas tree with ease. So why wait? Let’s learn How To Draw A Christmas Tree and boost your child’s creativity this festive season!
✏️ 7 Easy Steps To Draw A Christmas Tree
Learning to draw a Christmas tree is a fun and creative activity for kids. By following these simple steps, your little artist will be able to create a beautiful Christmas tree with ease!
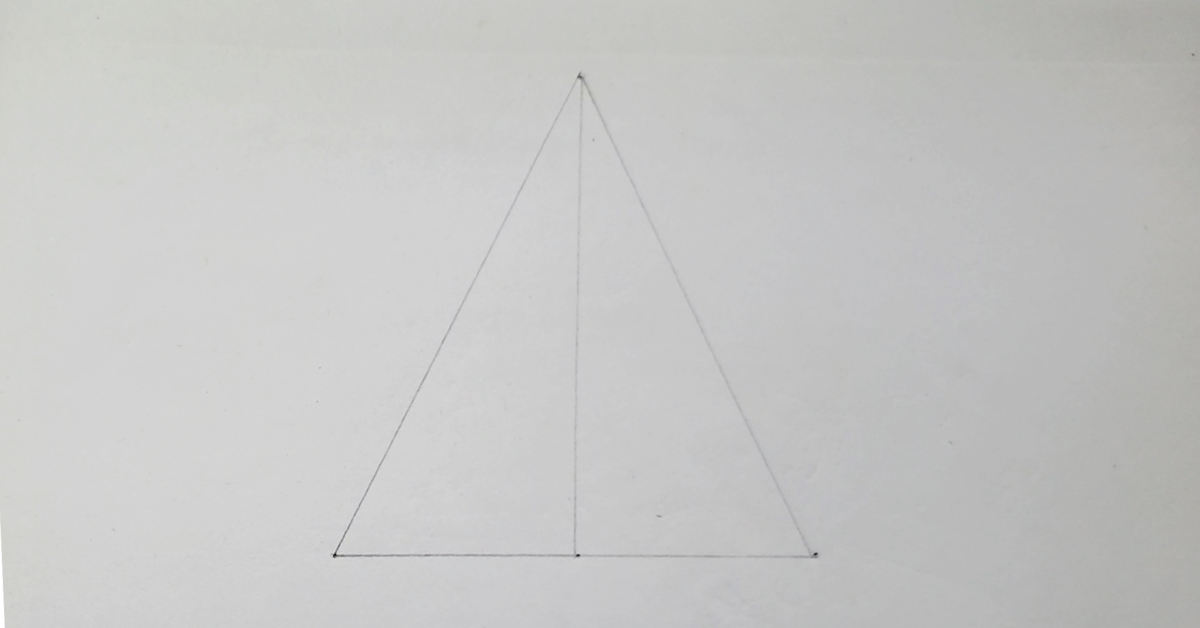
Step 1: Make a triangular base
First, draw a long triangle. This will be the basic structure of your Christmas tree. Draw a vertical line down the middle of the triangle and a horizontal line down the bottom. These lines will help you maintain the correct proportions when drawing the tree.
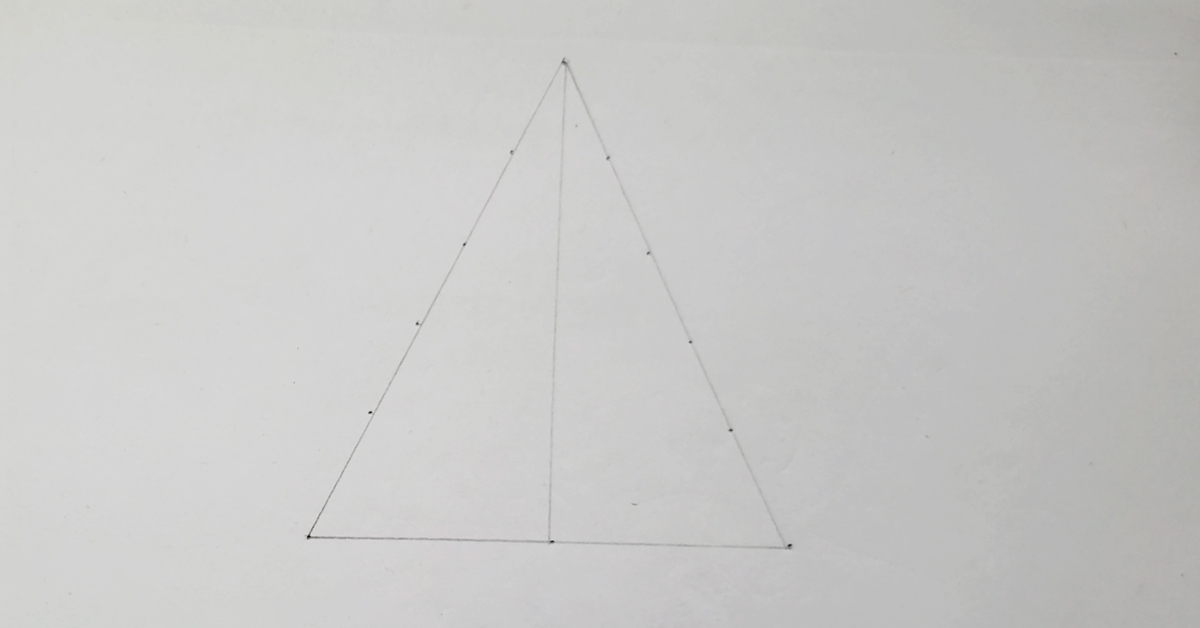
Step 2: Identify guidelines for branches
Now, mark small dots on both sides of the triangle at equal distances. These dots will indicate where the branches of your Christmas tree will start. This will help to make the shape of the tree more organized.
Step 3: Erase the extra lines
Now, erase the lightly drawn triangles and the middle guide lines. Leave only the dots marked for the branches. This will make your drawing clean and ready for the next step.

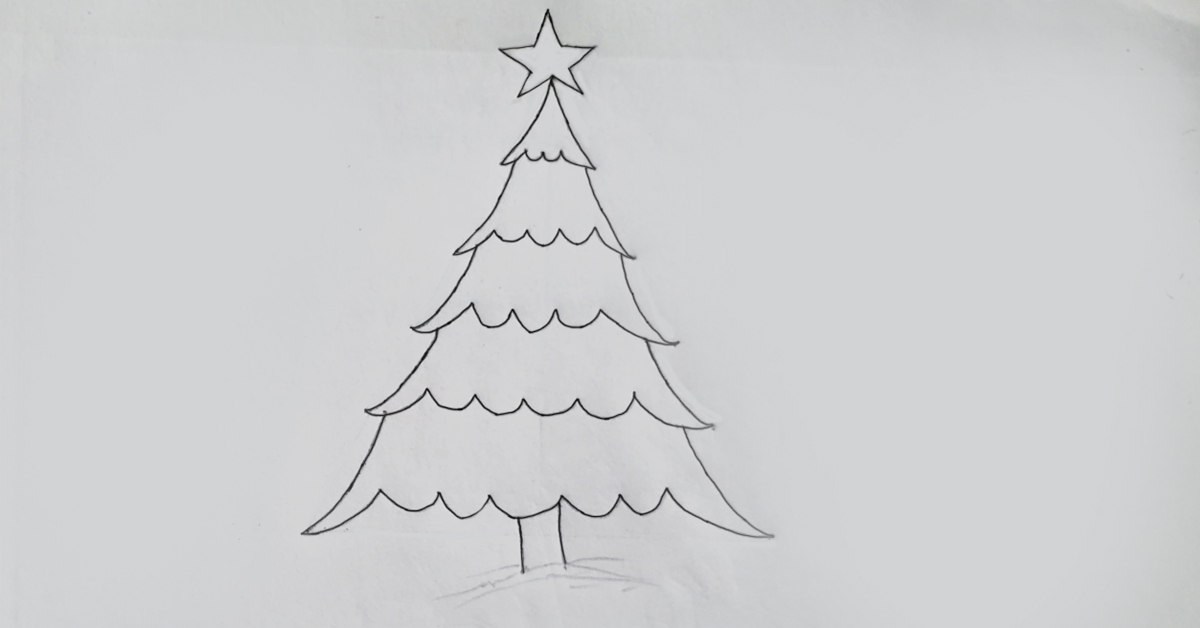
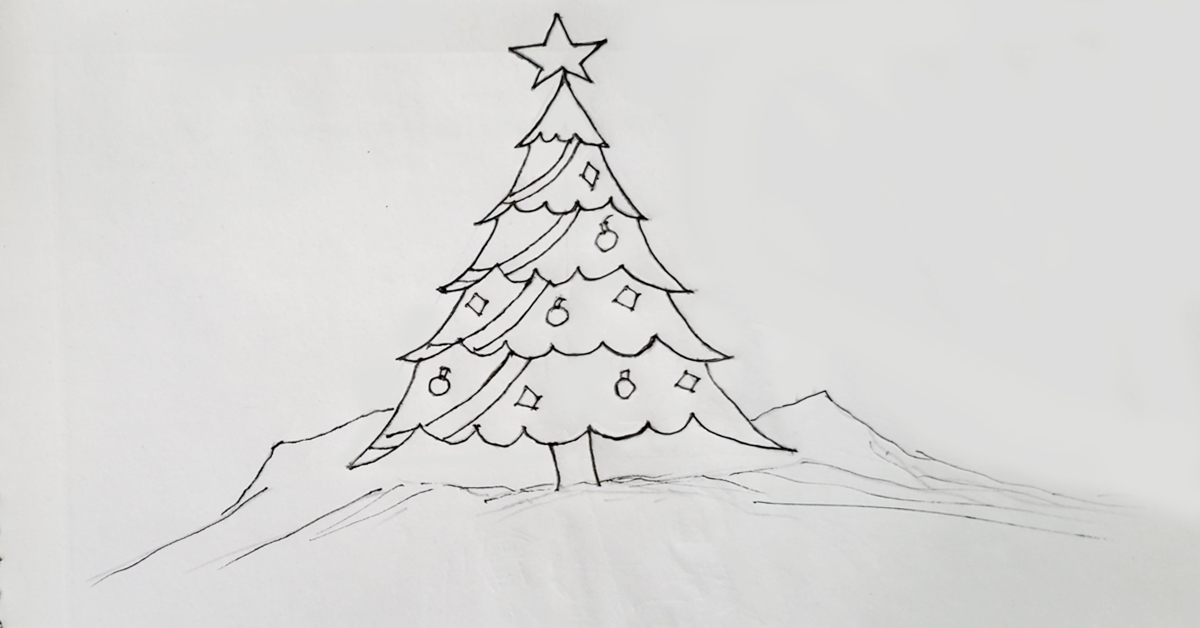
Step 4: Shape the tree and add stars
Now start drawing the layered branches of the Christmas tree by following the dots. Connect each layer with wavy or zigzag lines to make it look like a natural tree. Don’t forget to add a cute star at the top of the tree!
Step 5: Add ornaments and background
Now add traditional Christmas ornaments to your tree, such as round balls and diamond-shaped designs. Draw some hills or small mountains of snow at the bottom of the tree, which will make your image more alive.
Step 6: Add the candy canes
To add a more festive touch to your photo, draw a long striped candy cane next to the tree. This is a popular symbol of Christmas and will make the photo more attractive.

Step 7: Color the picture
Finally, give your painted Christmas tree a vibrant color! Make the tree leaves green, the trunk brown, the stars yellow, the ornaments colorful, and the candy canes red and white striped. Create a snowy atmosphere by painting the ground light blue or gray. That’s it, your beautiful Christmas tree is ready!

Watch YouTube Video Tutorial
Conclusion
Hopefully, by following our 7 easy steps, you and your child have been able to draw a wonderful Christmas tree. How To Draw A Christmas Tree is no longer a difficult task, but a joyful experience! This Christmas tree is not just a picture, it is a memory of the precious time you and your child spent together. Decorate your home with your drawn Christmas tree this festive season or gift it to a loved one. With these easy techniques, your child will be encouraged to draw many more beautiful pictures in the future. Good luck!