

 Amit
Amit Crafting is essential for developing children’s creativity and imagination. And if there’s something you can do during the holidays or during your free time that’s both fun and educational, then it’s a no-brainer! Today we’ve come up with one such fun idea – making a Cardboard Gingerbread House.
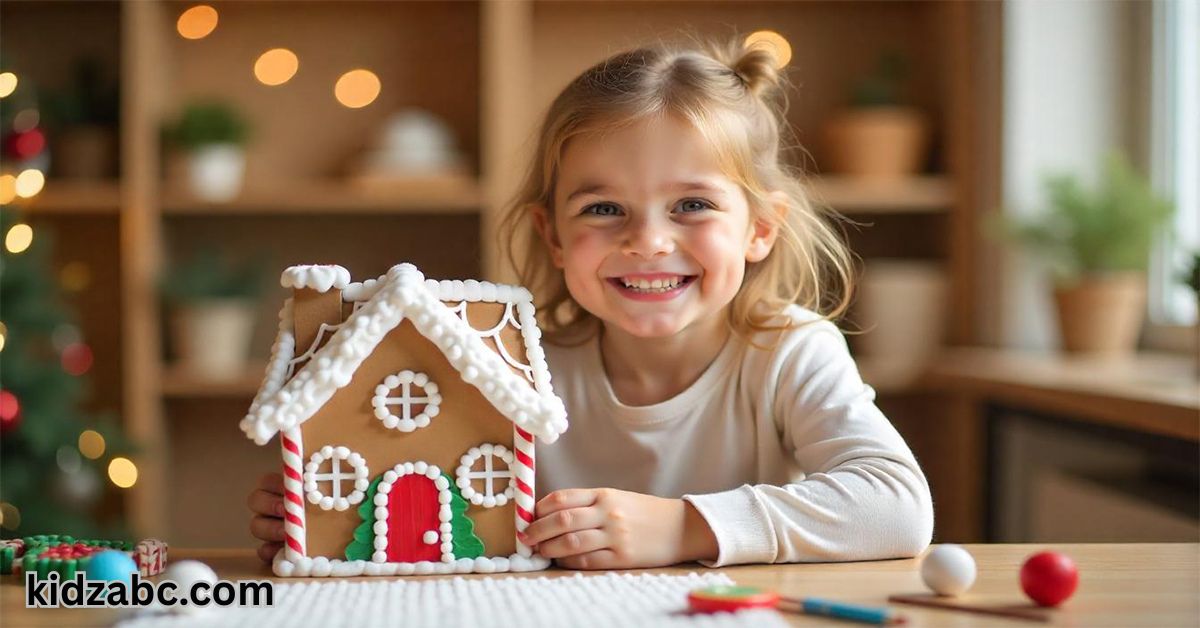
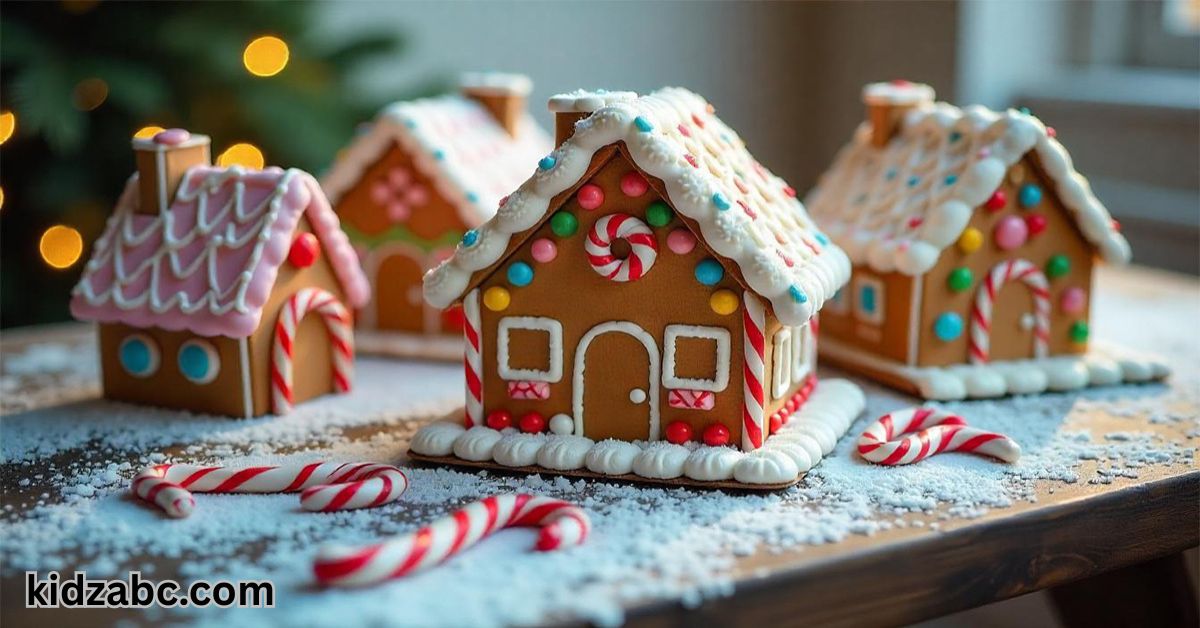
It is hard to find a child who has not heard the fairy tale story of a Cardboard Gingerbread House in his childhood. A great way to make that fantasy world a reality is to make his own Cardboard Gingerbread House. It is not only a fun project, but also encourages children’s fine motor skills and creativity. Since this house can be made using old discarded cardboard, it is a cost-effective and Eco-friendly initiative. Let us see step by step how to make this interesting cardboard gingerbread house.
🧰Materials Needed To Make a Cardboard Gingerbread House
- Some old cardboard (boxes of various sizes can be used)
- Scissors or sharp knife (to be used under adult supervision)
- Ruler or scale
- Pencil or marker
- Strong glue or glue gun (to be used under adult supervision)
- Decorative materials: such as – paints, glitter, buttons, small beads, candies (for decoration, but use with caution in case of small children), cotton, etc.
- Adhesive tape (if necessary)
🏗️10 Easy Steps to Make a Cardboard Gingerbread House
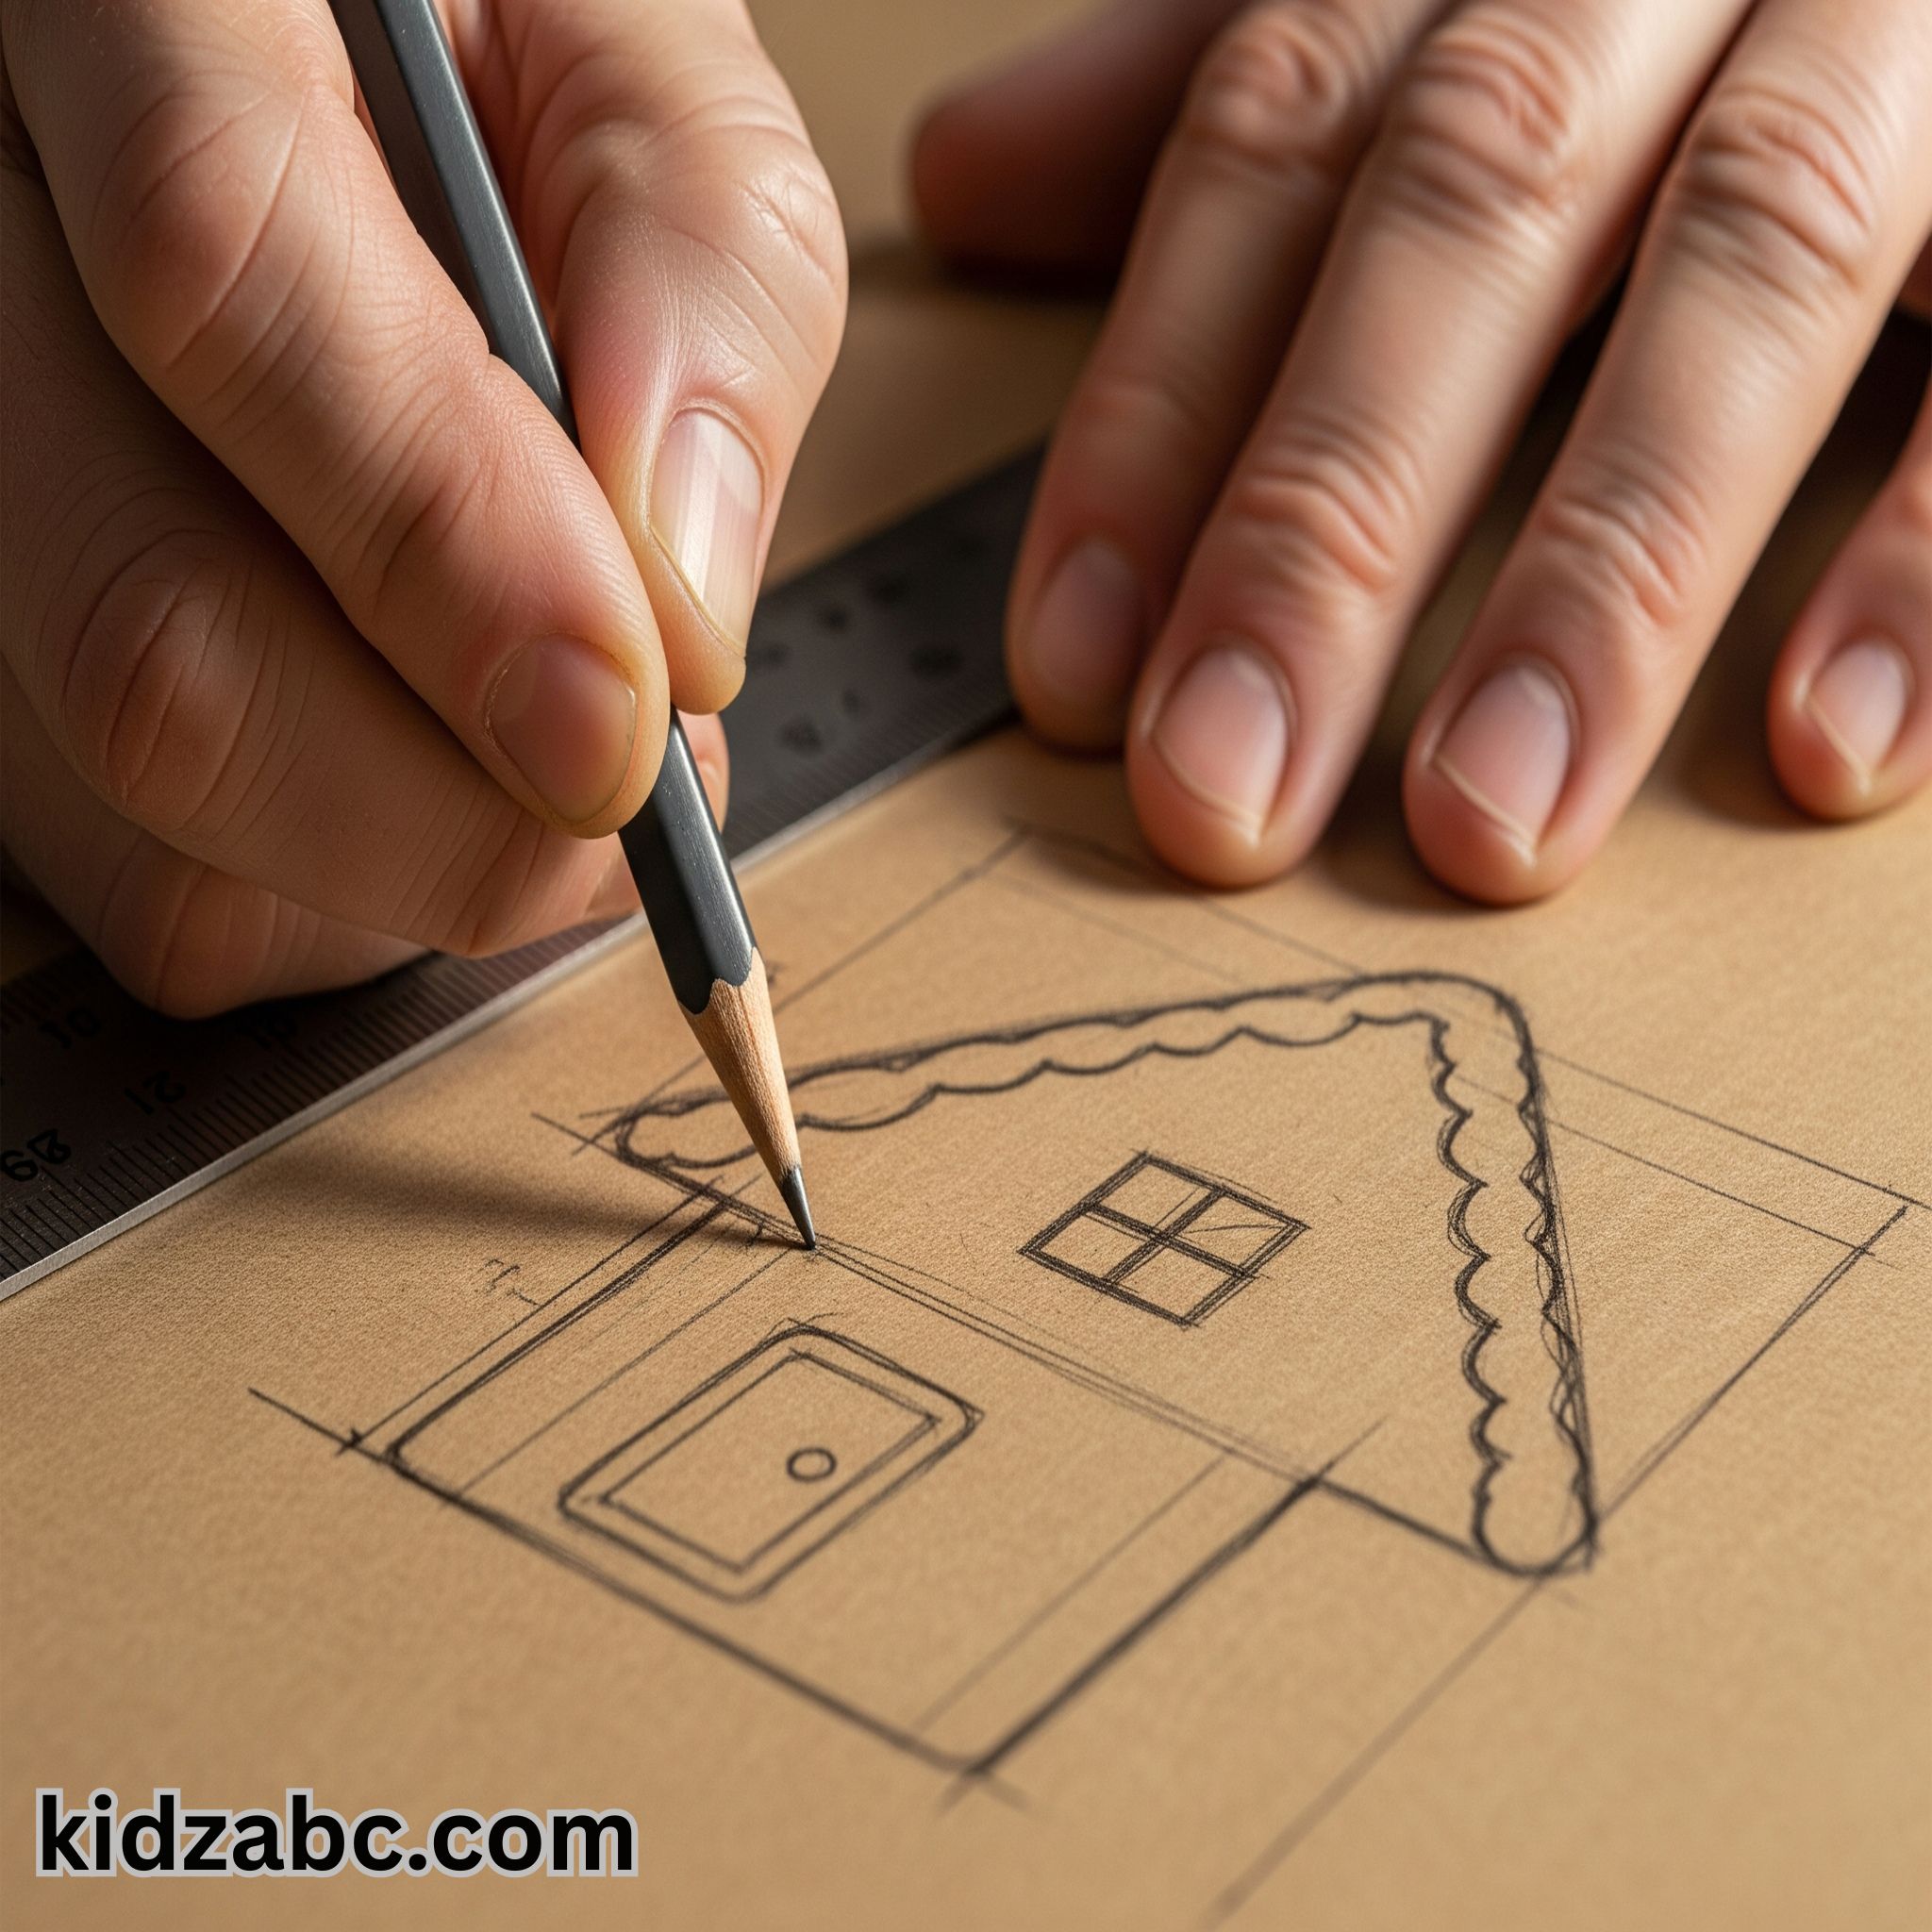
✨Step 1: Plan and Design
First, create a general plan for your gingerbread house. Decide how big it will be, what kind of roof it will have, and what the size of the doors and windows will be. It’s a good idea to sketch it out on a piece of paper.
✨Step 2: Cut the Cardboard
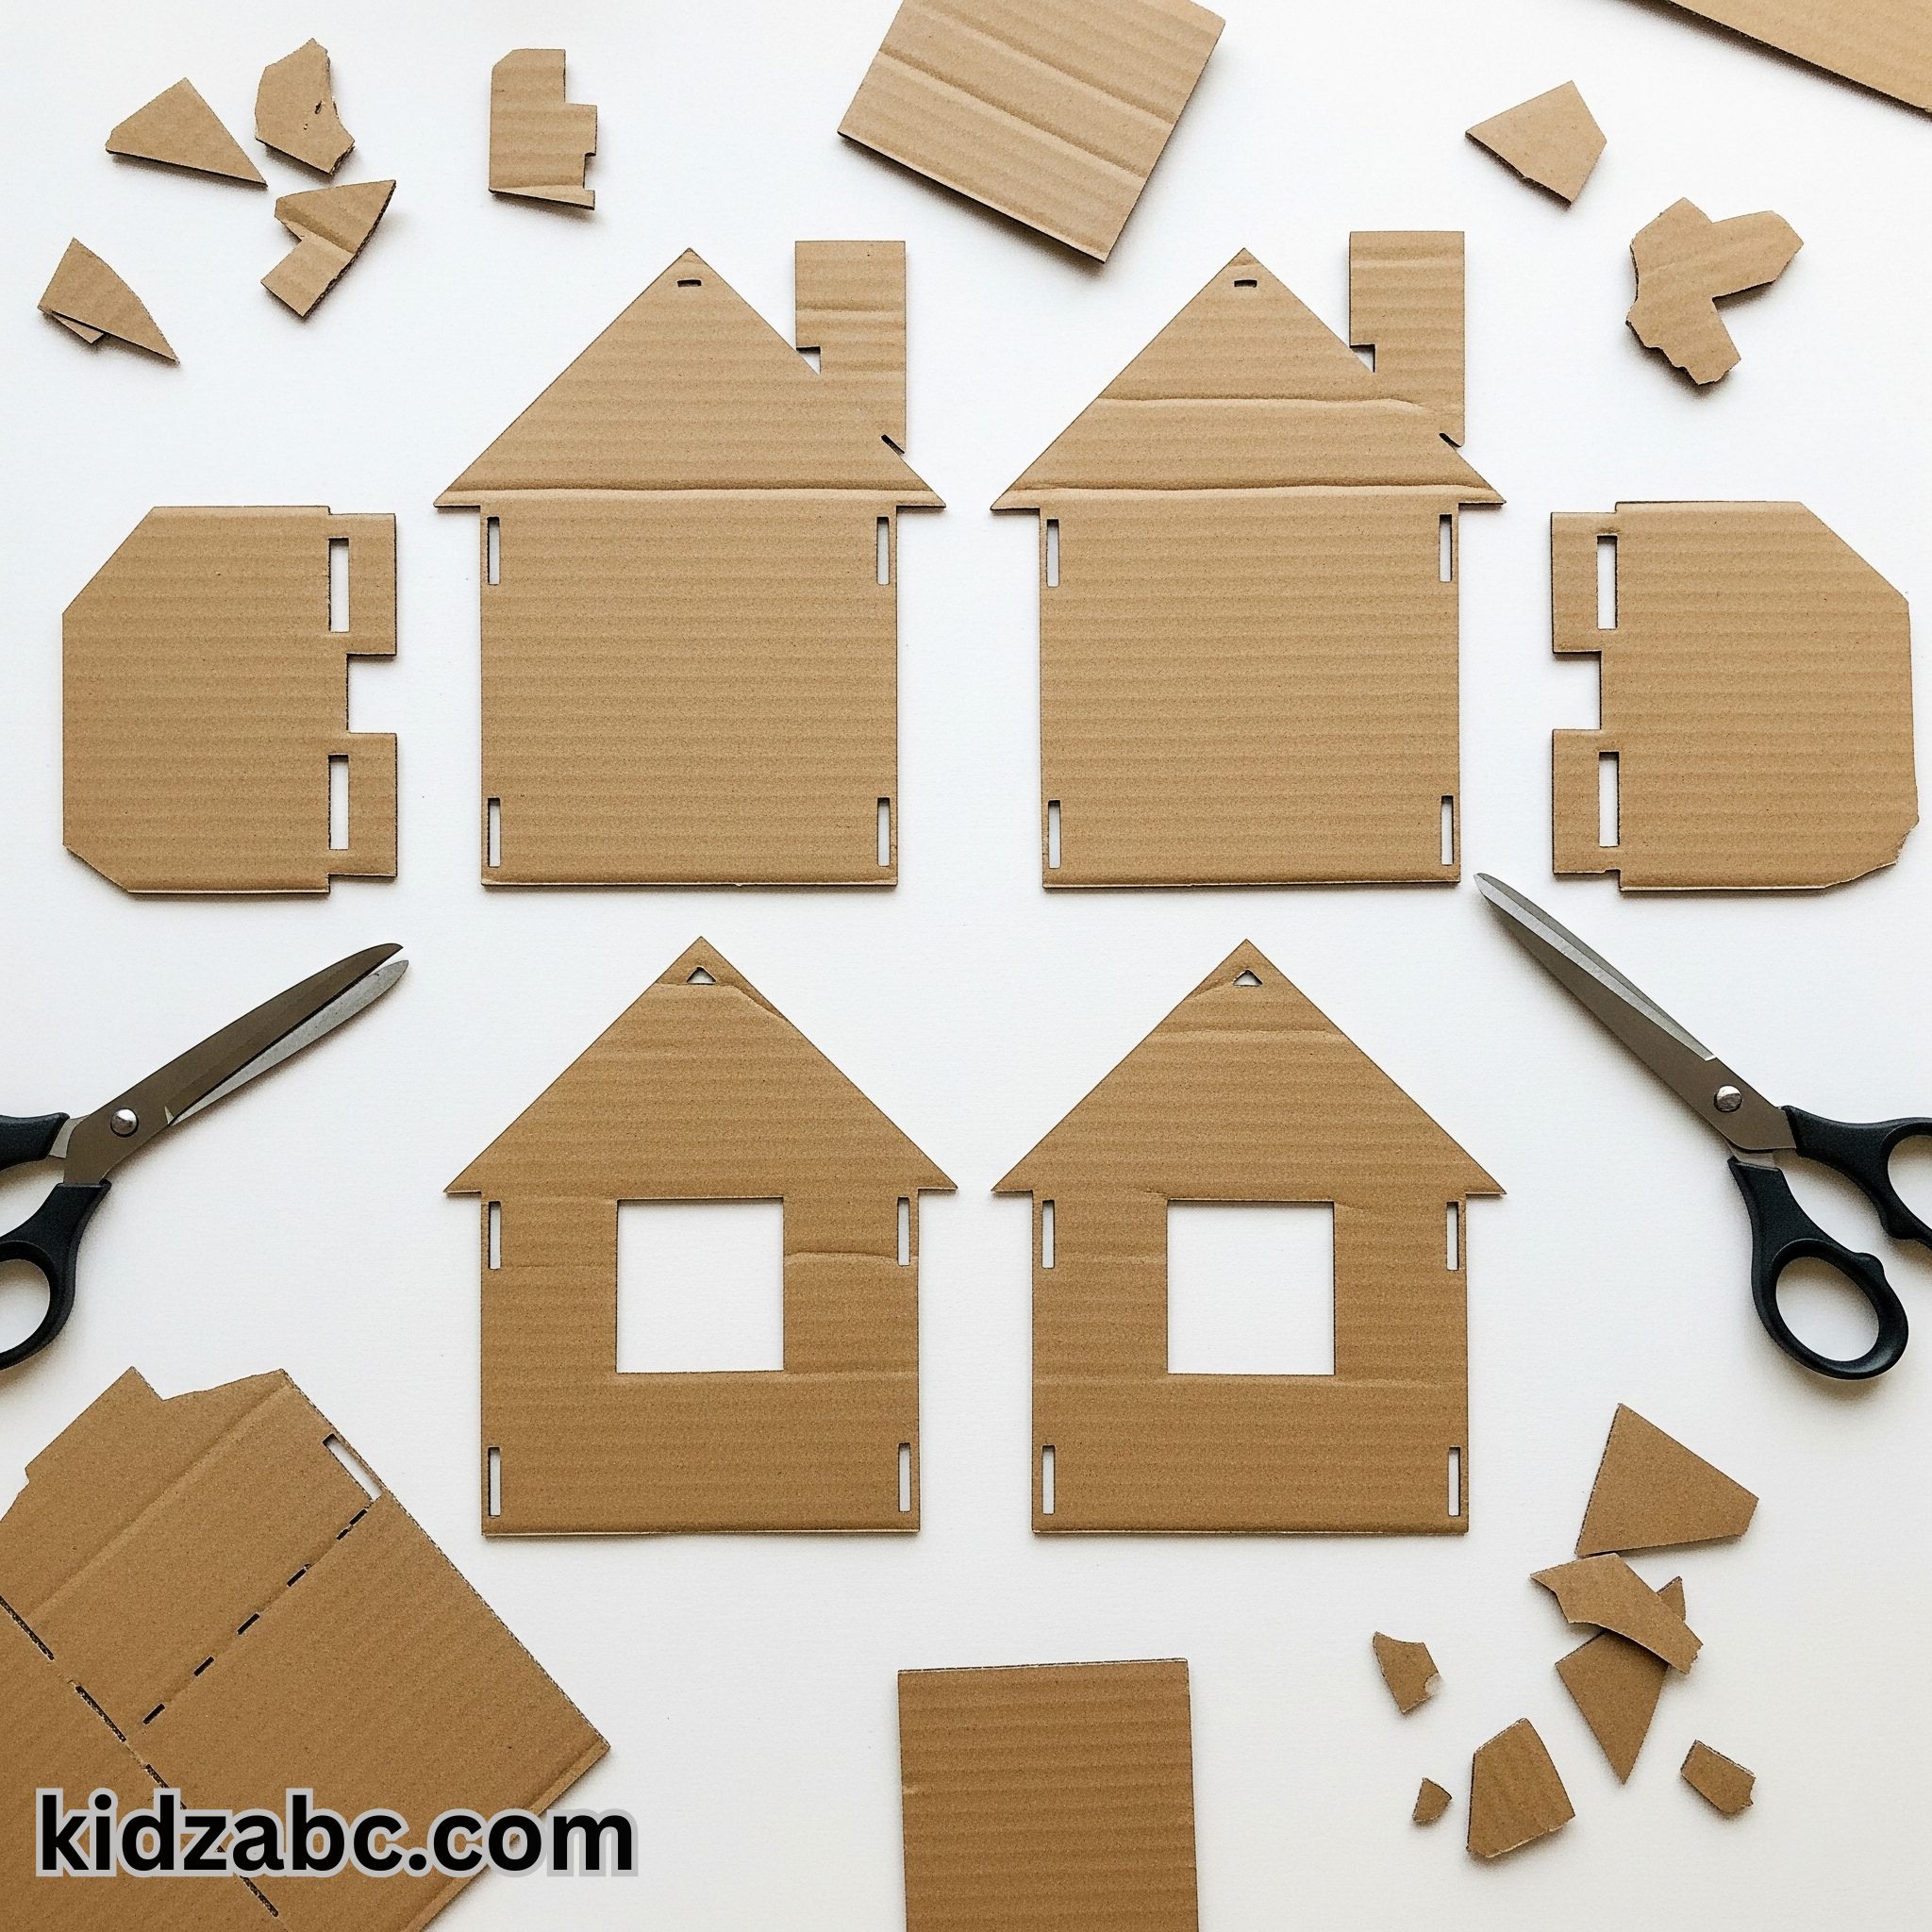
Cut the cardboard pieces according to your design. Usually the front and back of a gingerbread house are the same, and the two sides are the same. Also, you will need to cut two equal-sized pieces of cardboard for the roof.
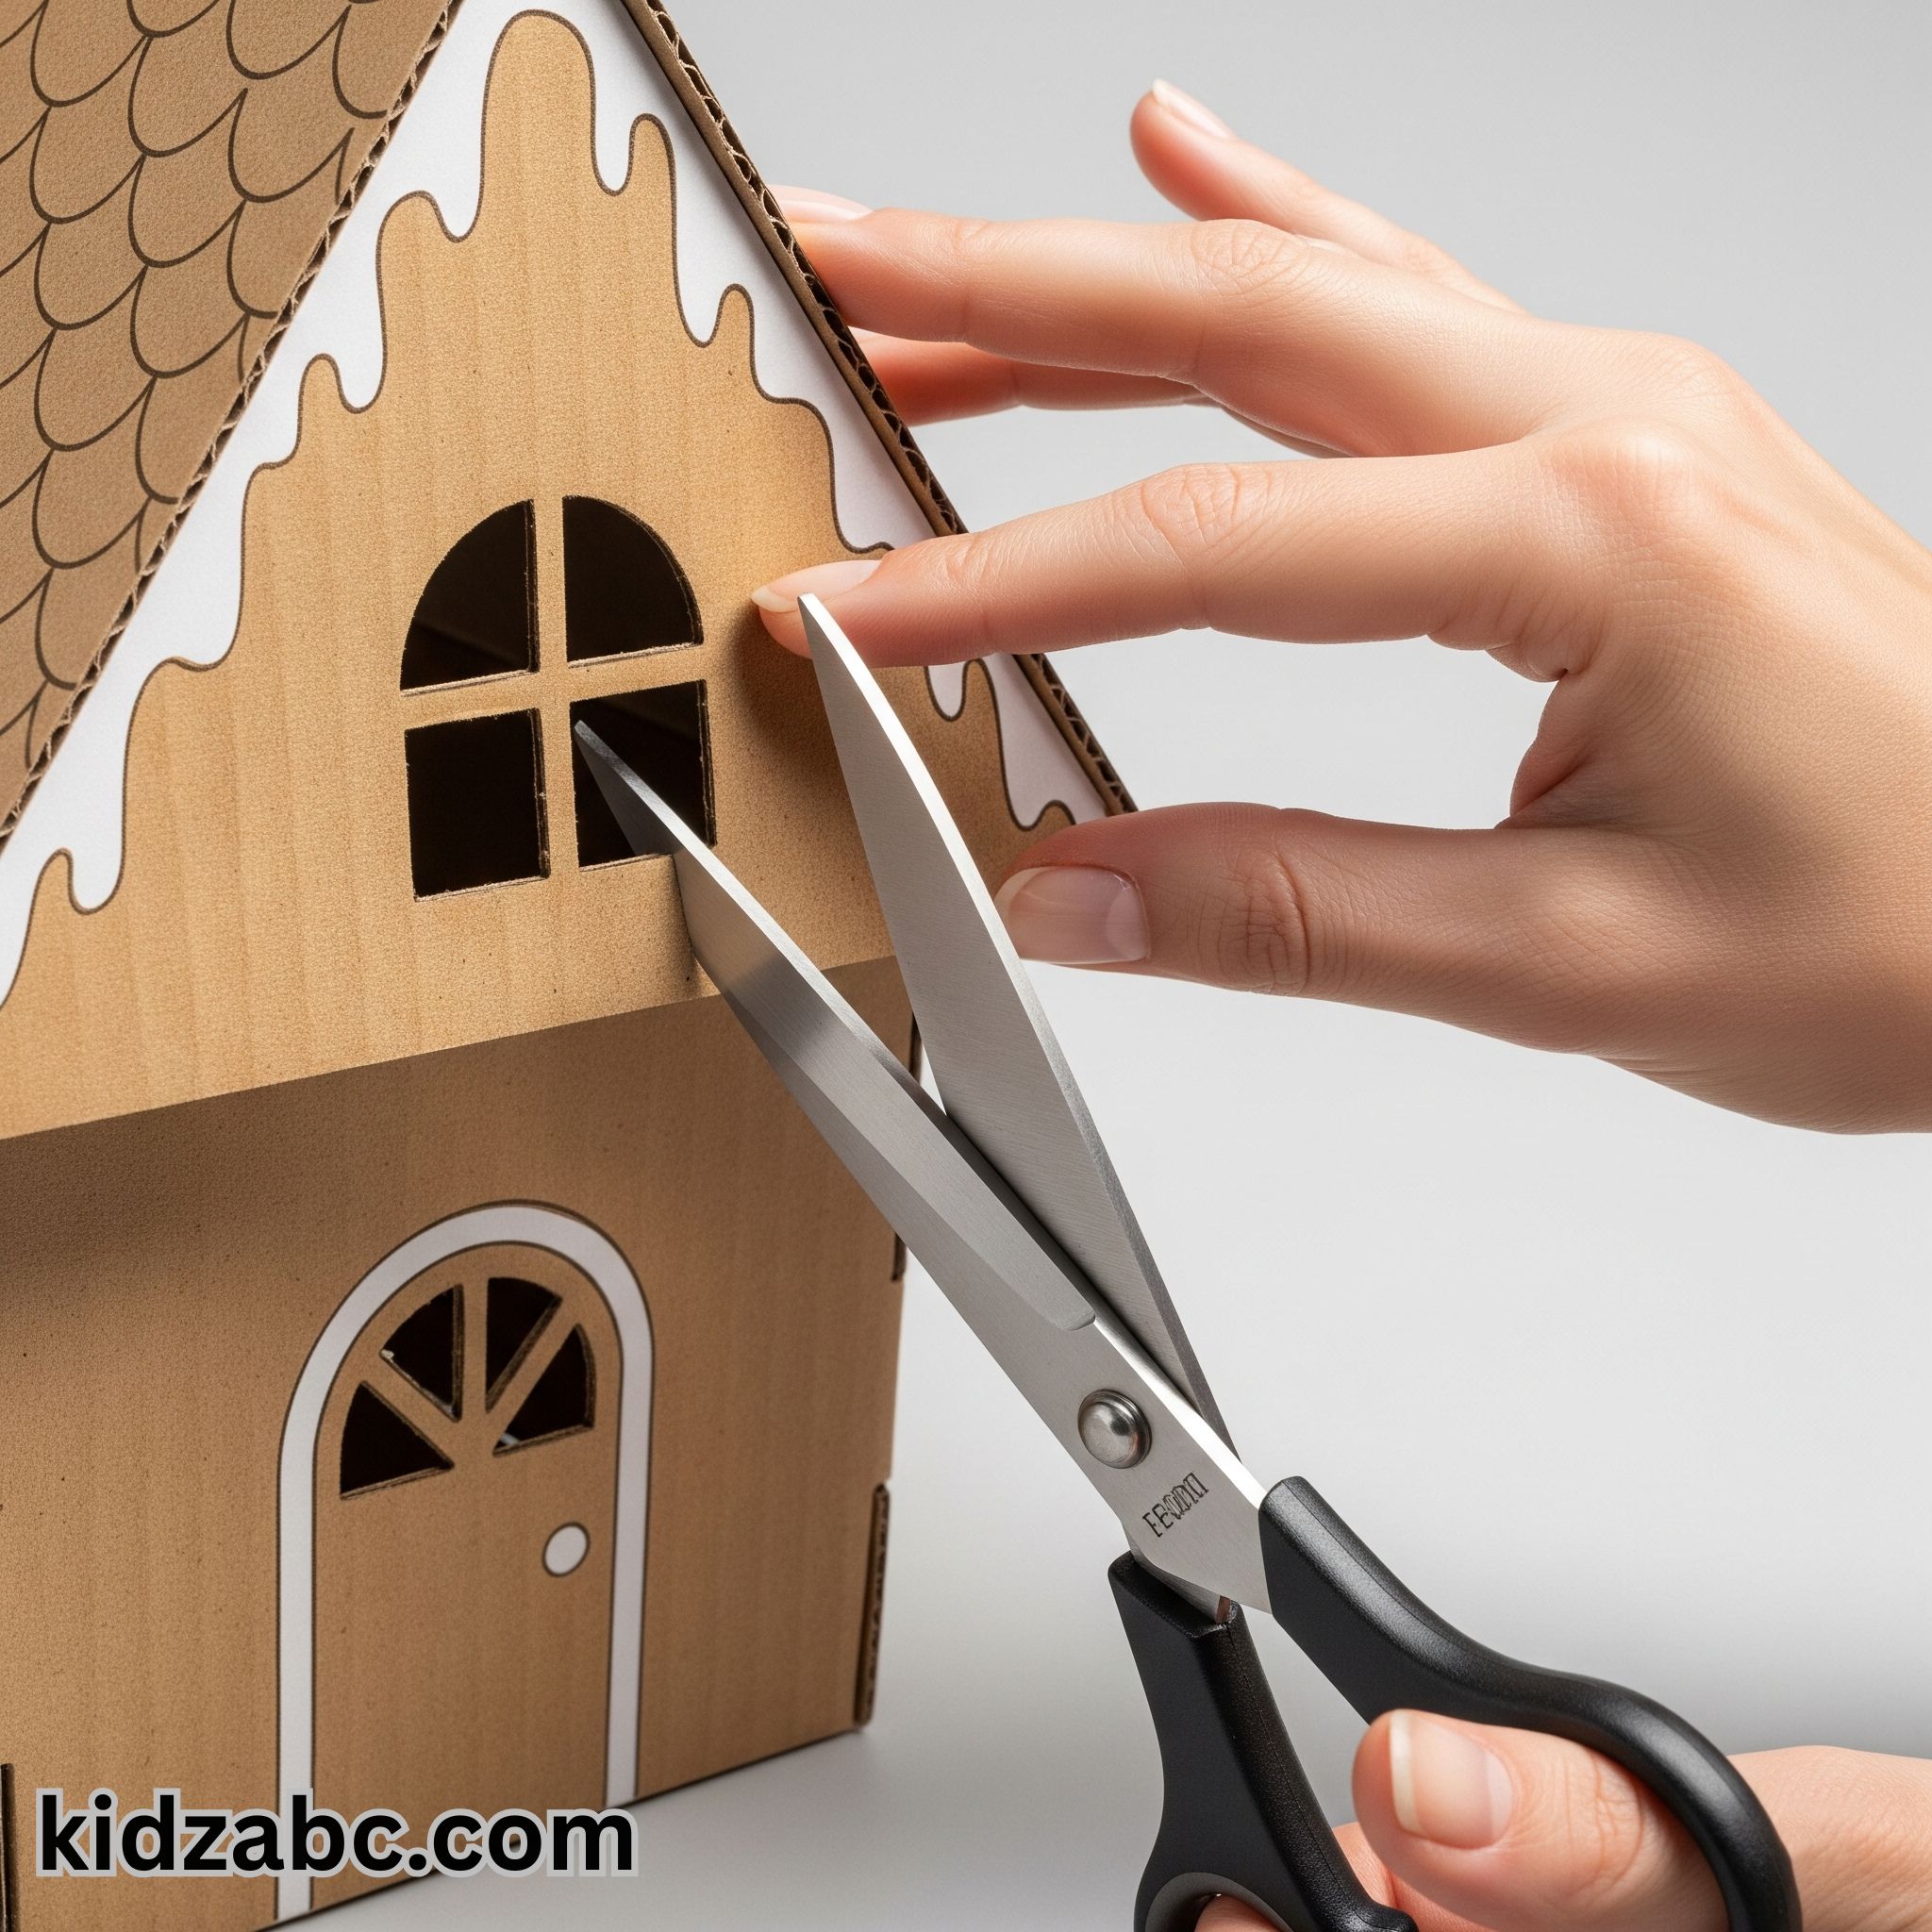
✨Step 3: Making the Doors and Windows
Once cut, draw the door and window designs on each piece with a pencil. Then carefully cut out the doors and windows with scissors or a knife.
✨Step 4: Attaching the Walls
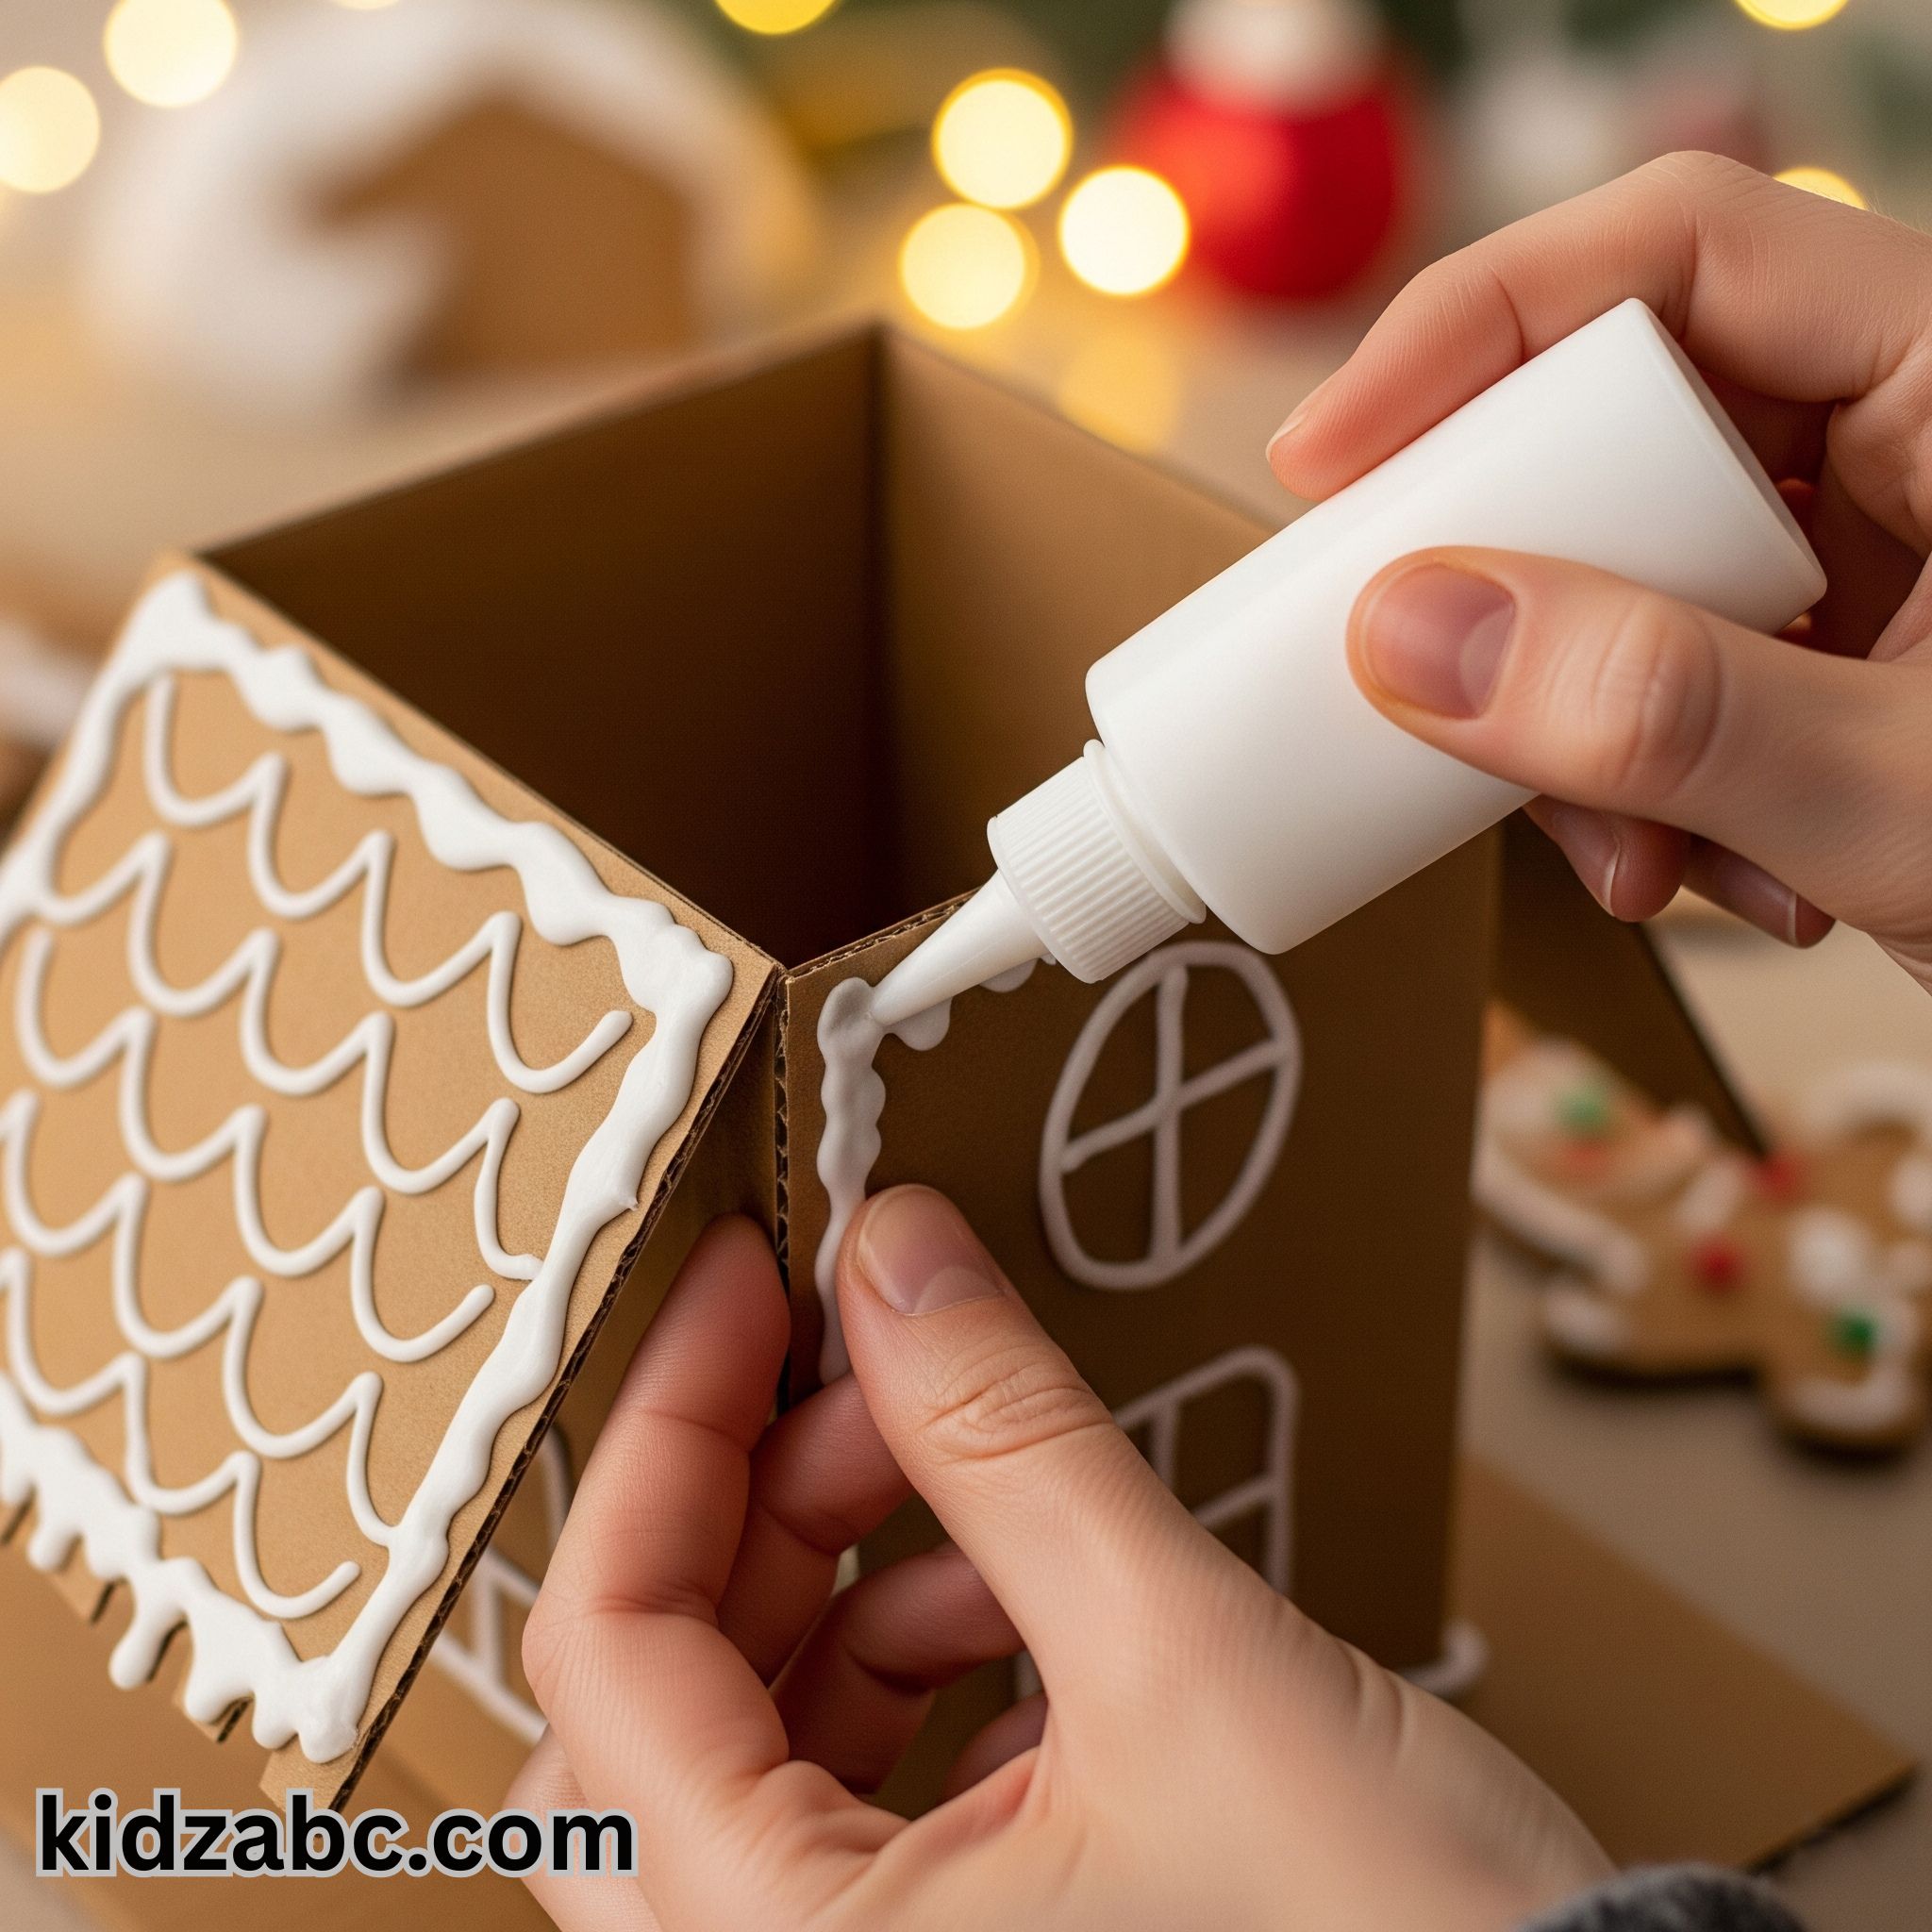
Now it’s time to attach the walls together. Glue the edges of the cardboard well and join them together to form a square box. If necessary, you can use adhesive tape to reinforce the joints.
✨Step 5: Attaching the Roof
After attaching the walls well, glue the roof pieces and position them in such a way that a triangular roof is formed. Make sure that both sides of the roof fall evenly.
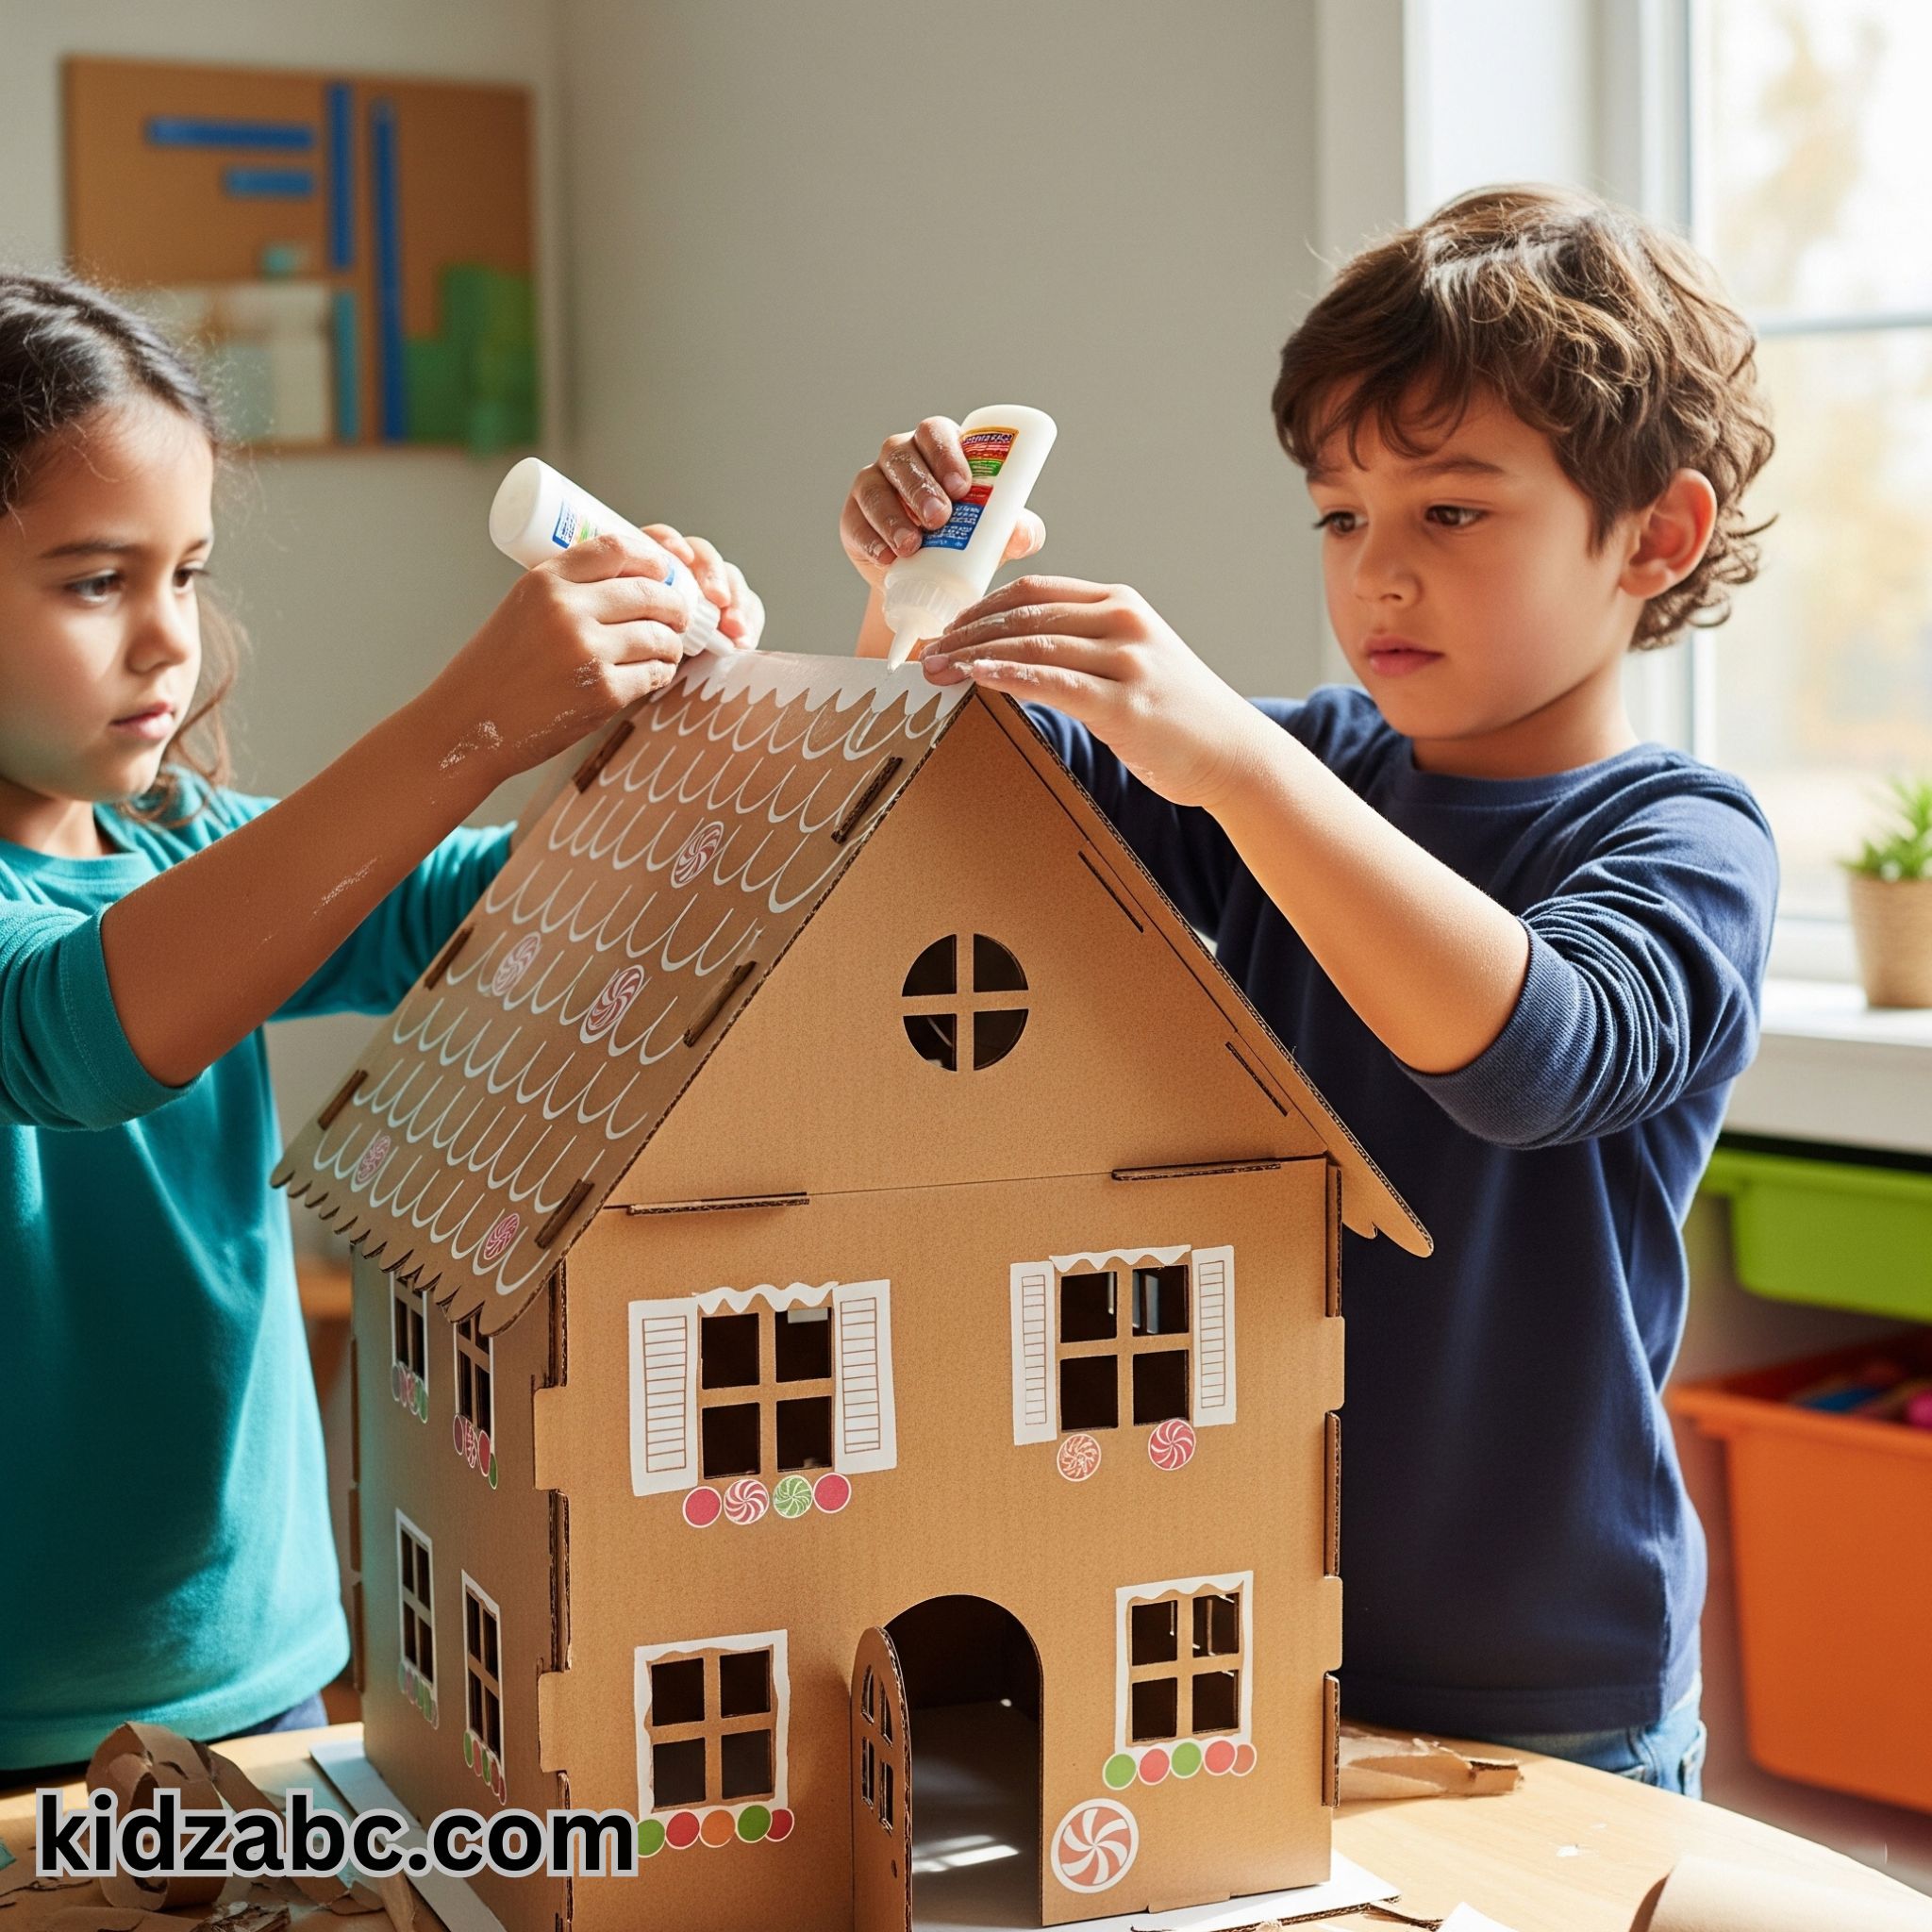
✨Step 6: Drying the Frame
After gluing, give the frame some time to dry thoroughly and harden.
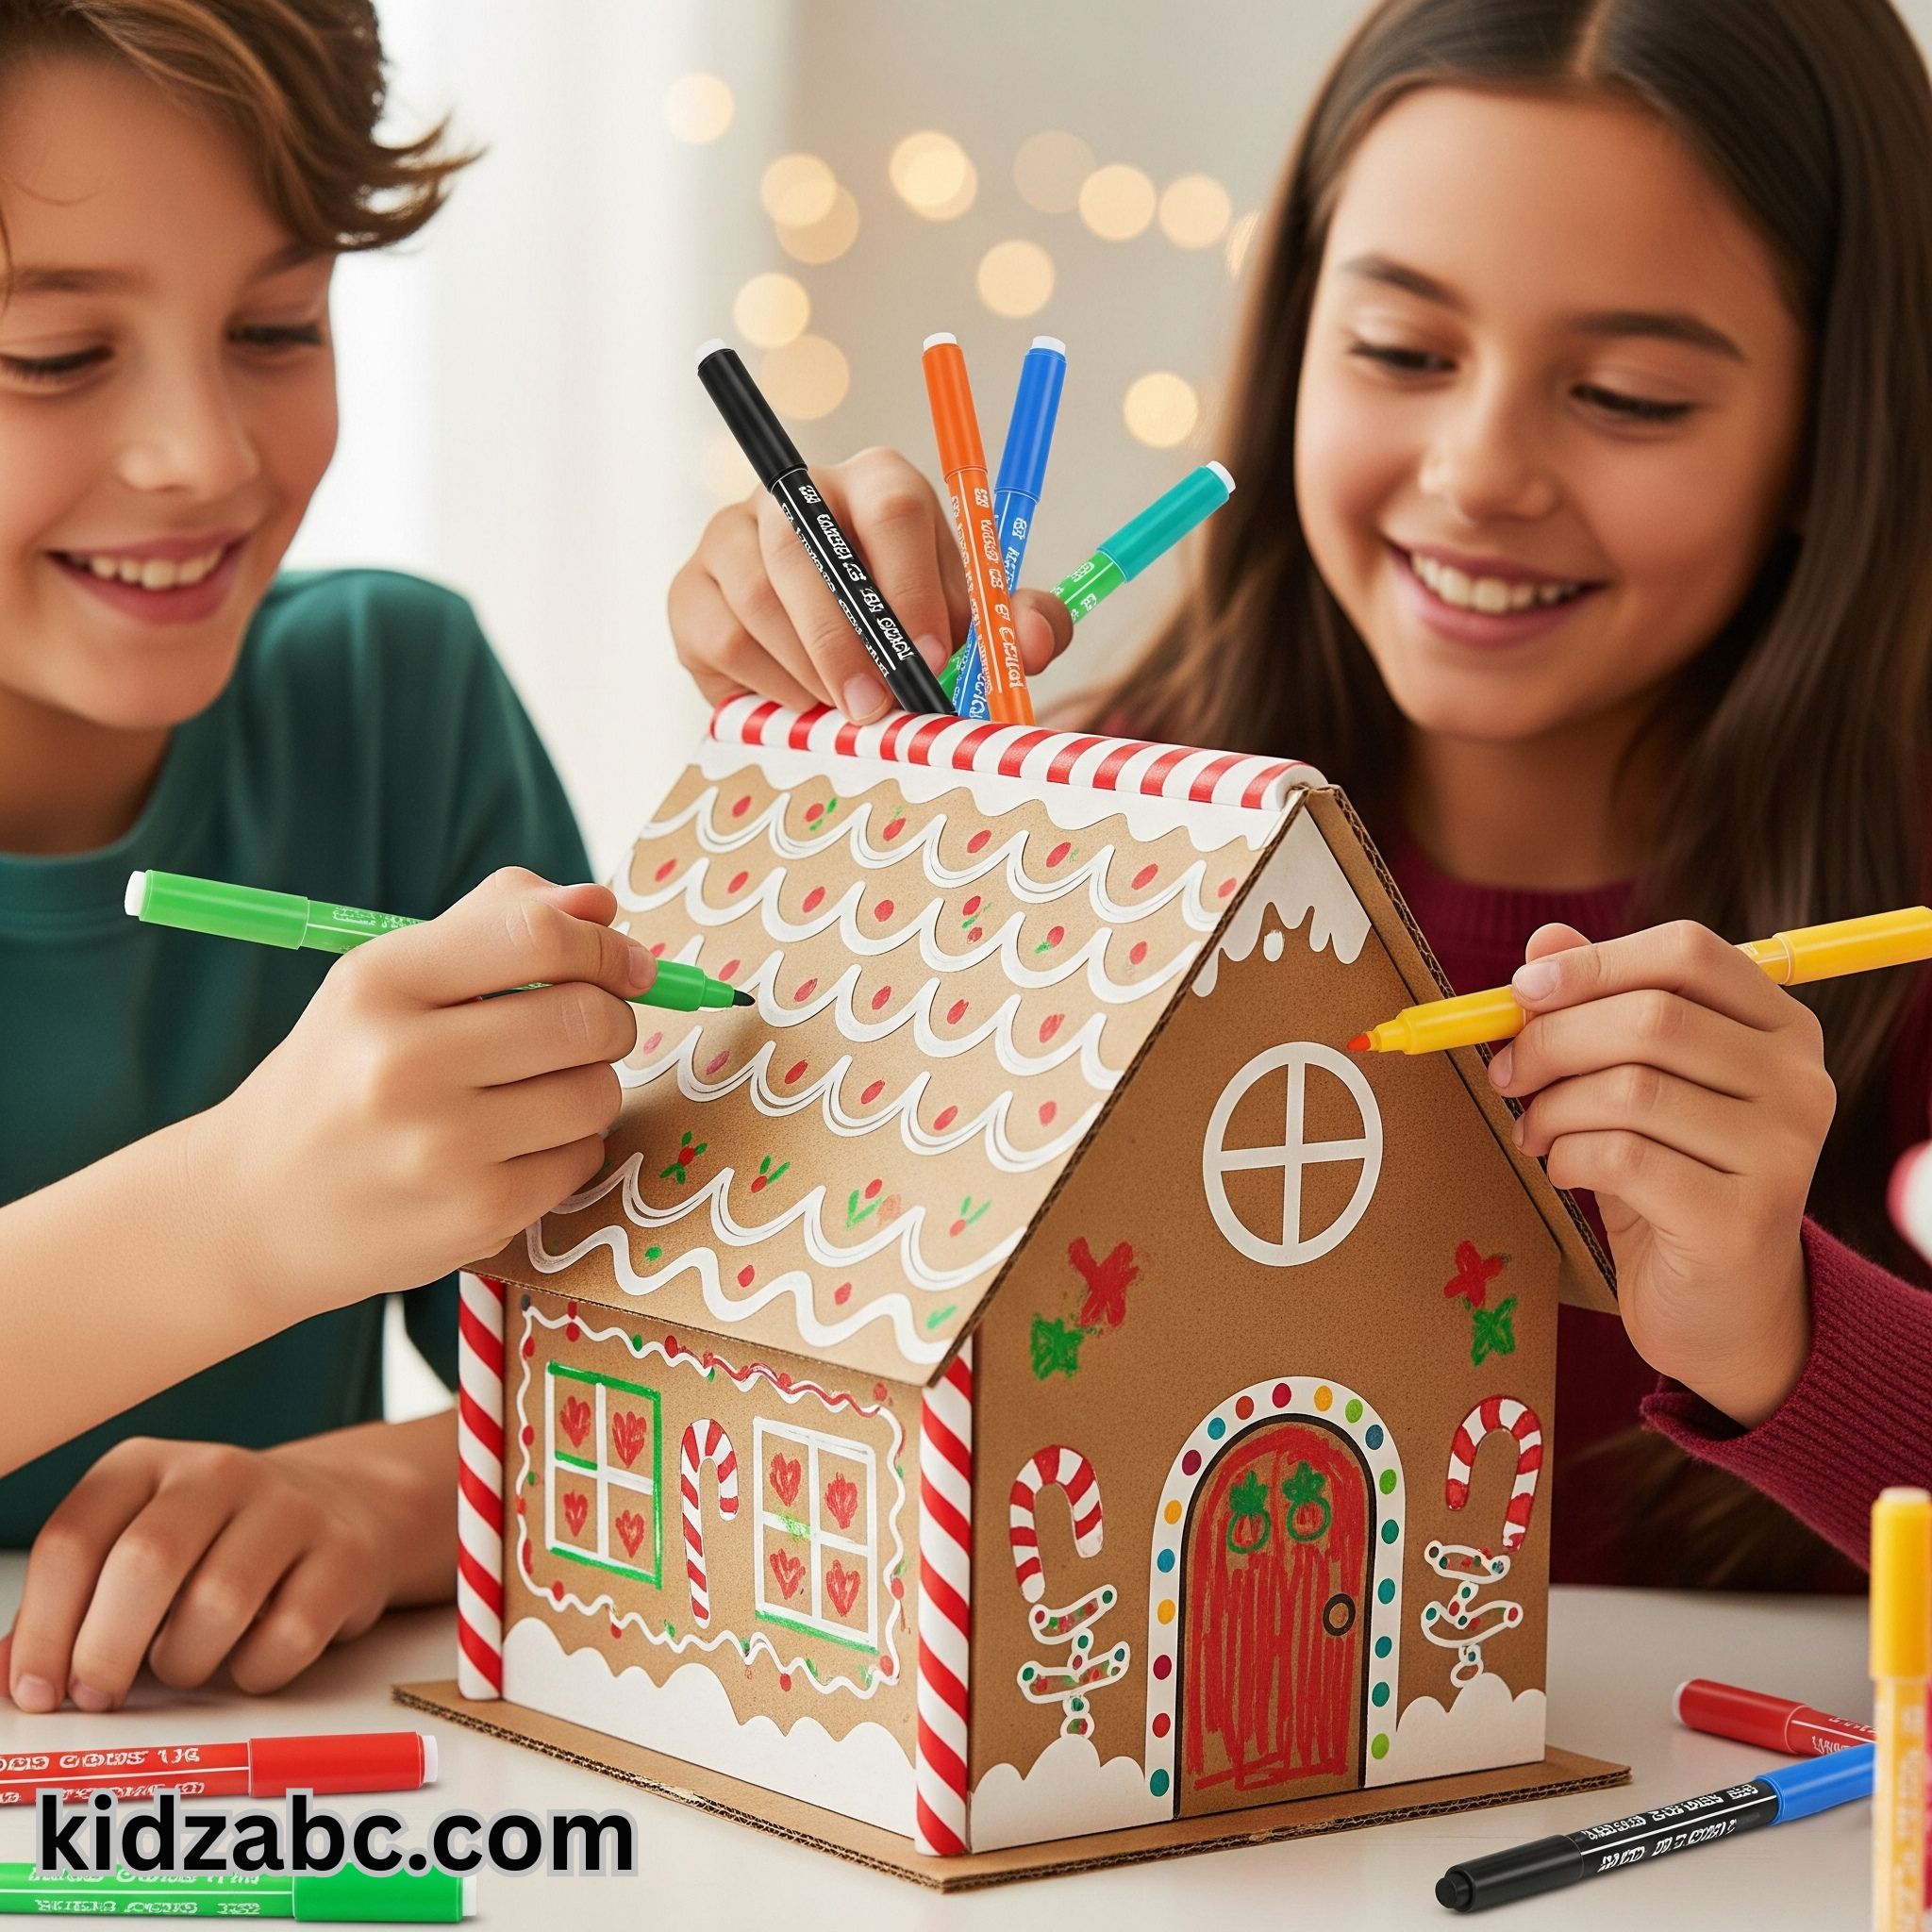
✨Step 7: Painting
Once the frame is dry, it’s time to paint it. You can use any color of your choice. White, brown, pink, etc. are very popular colors for gingerbread houses.
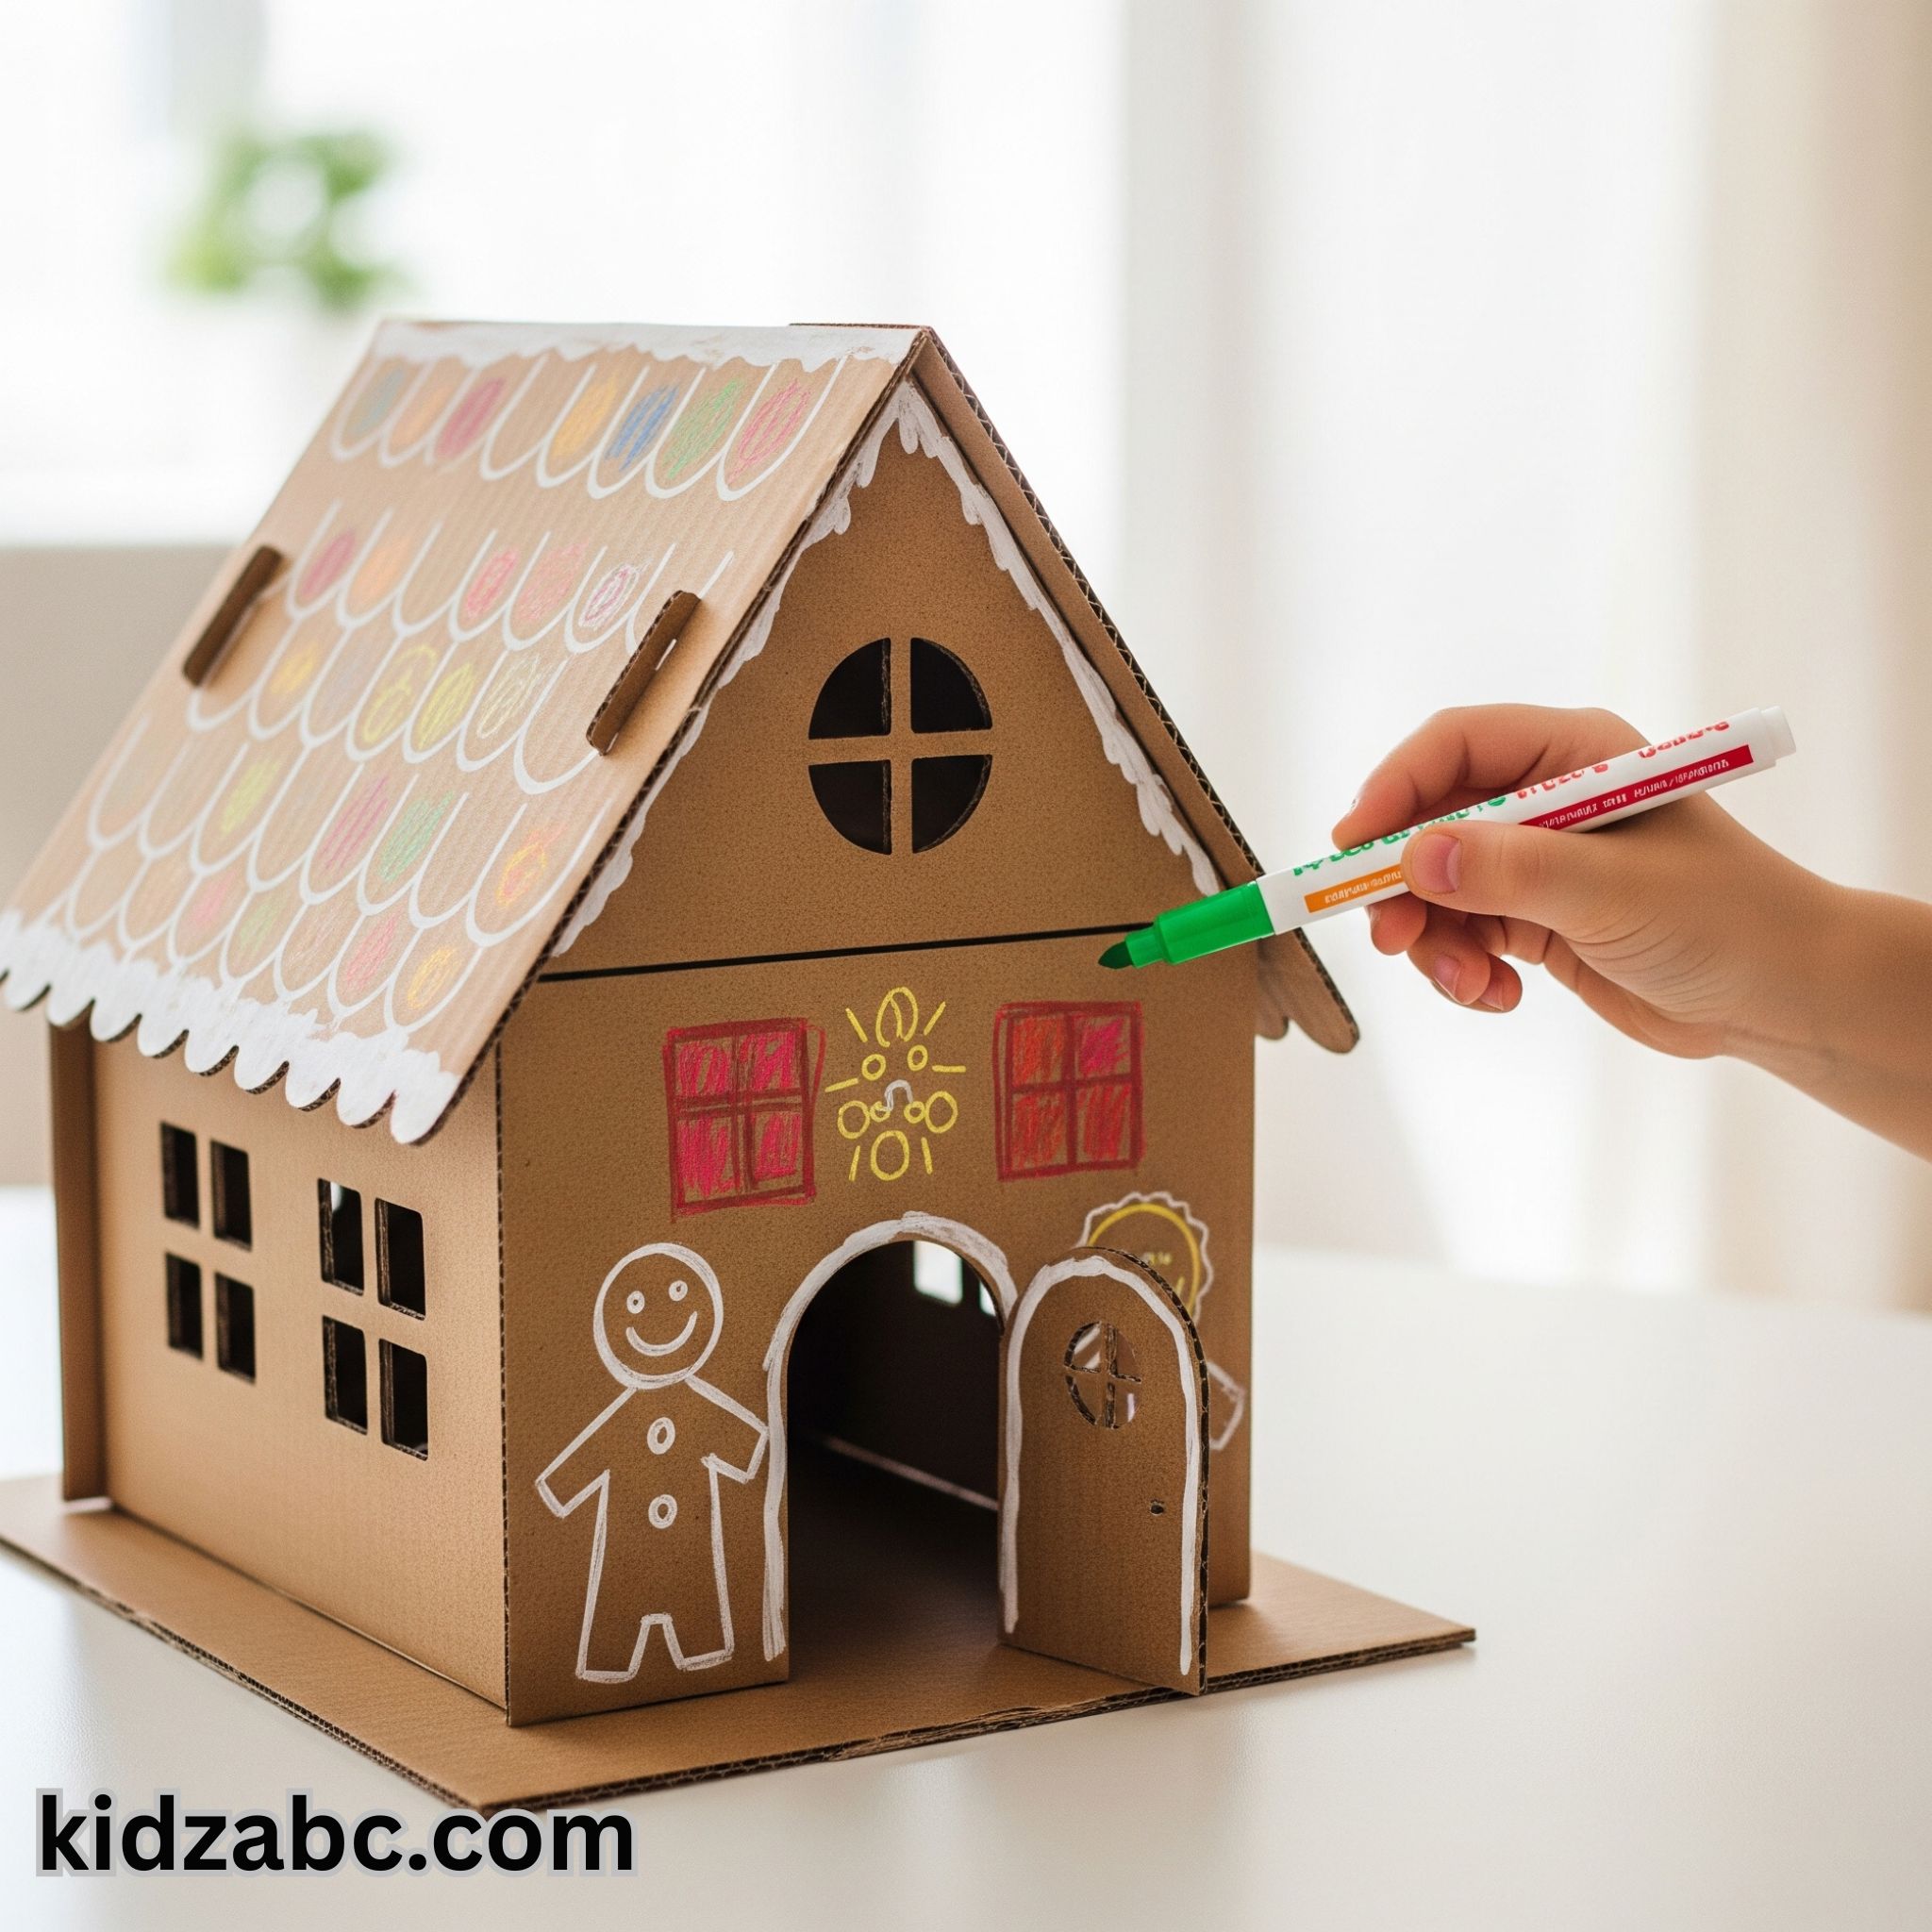
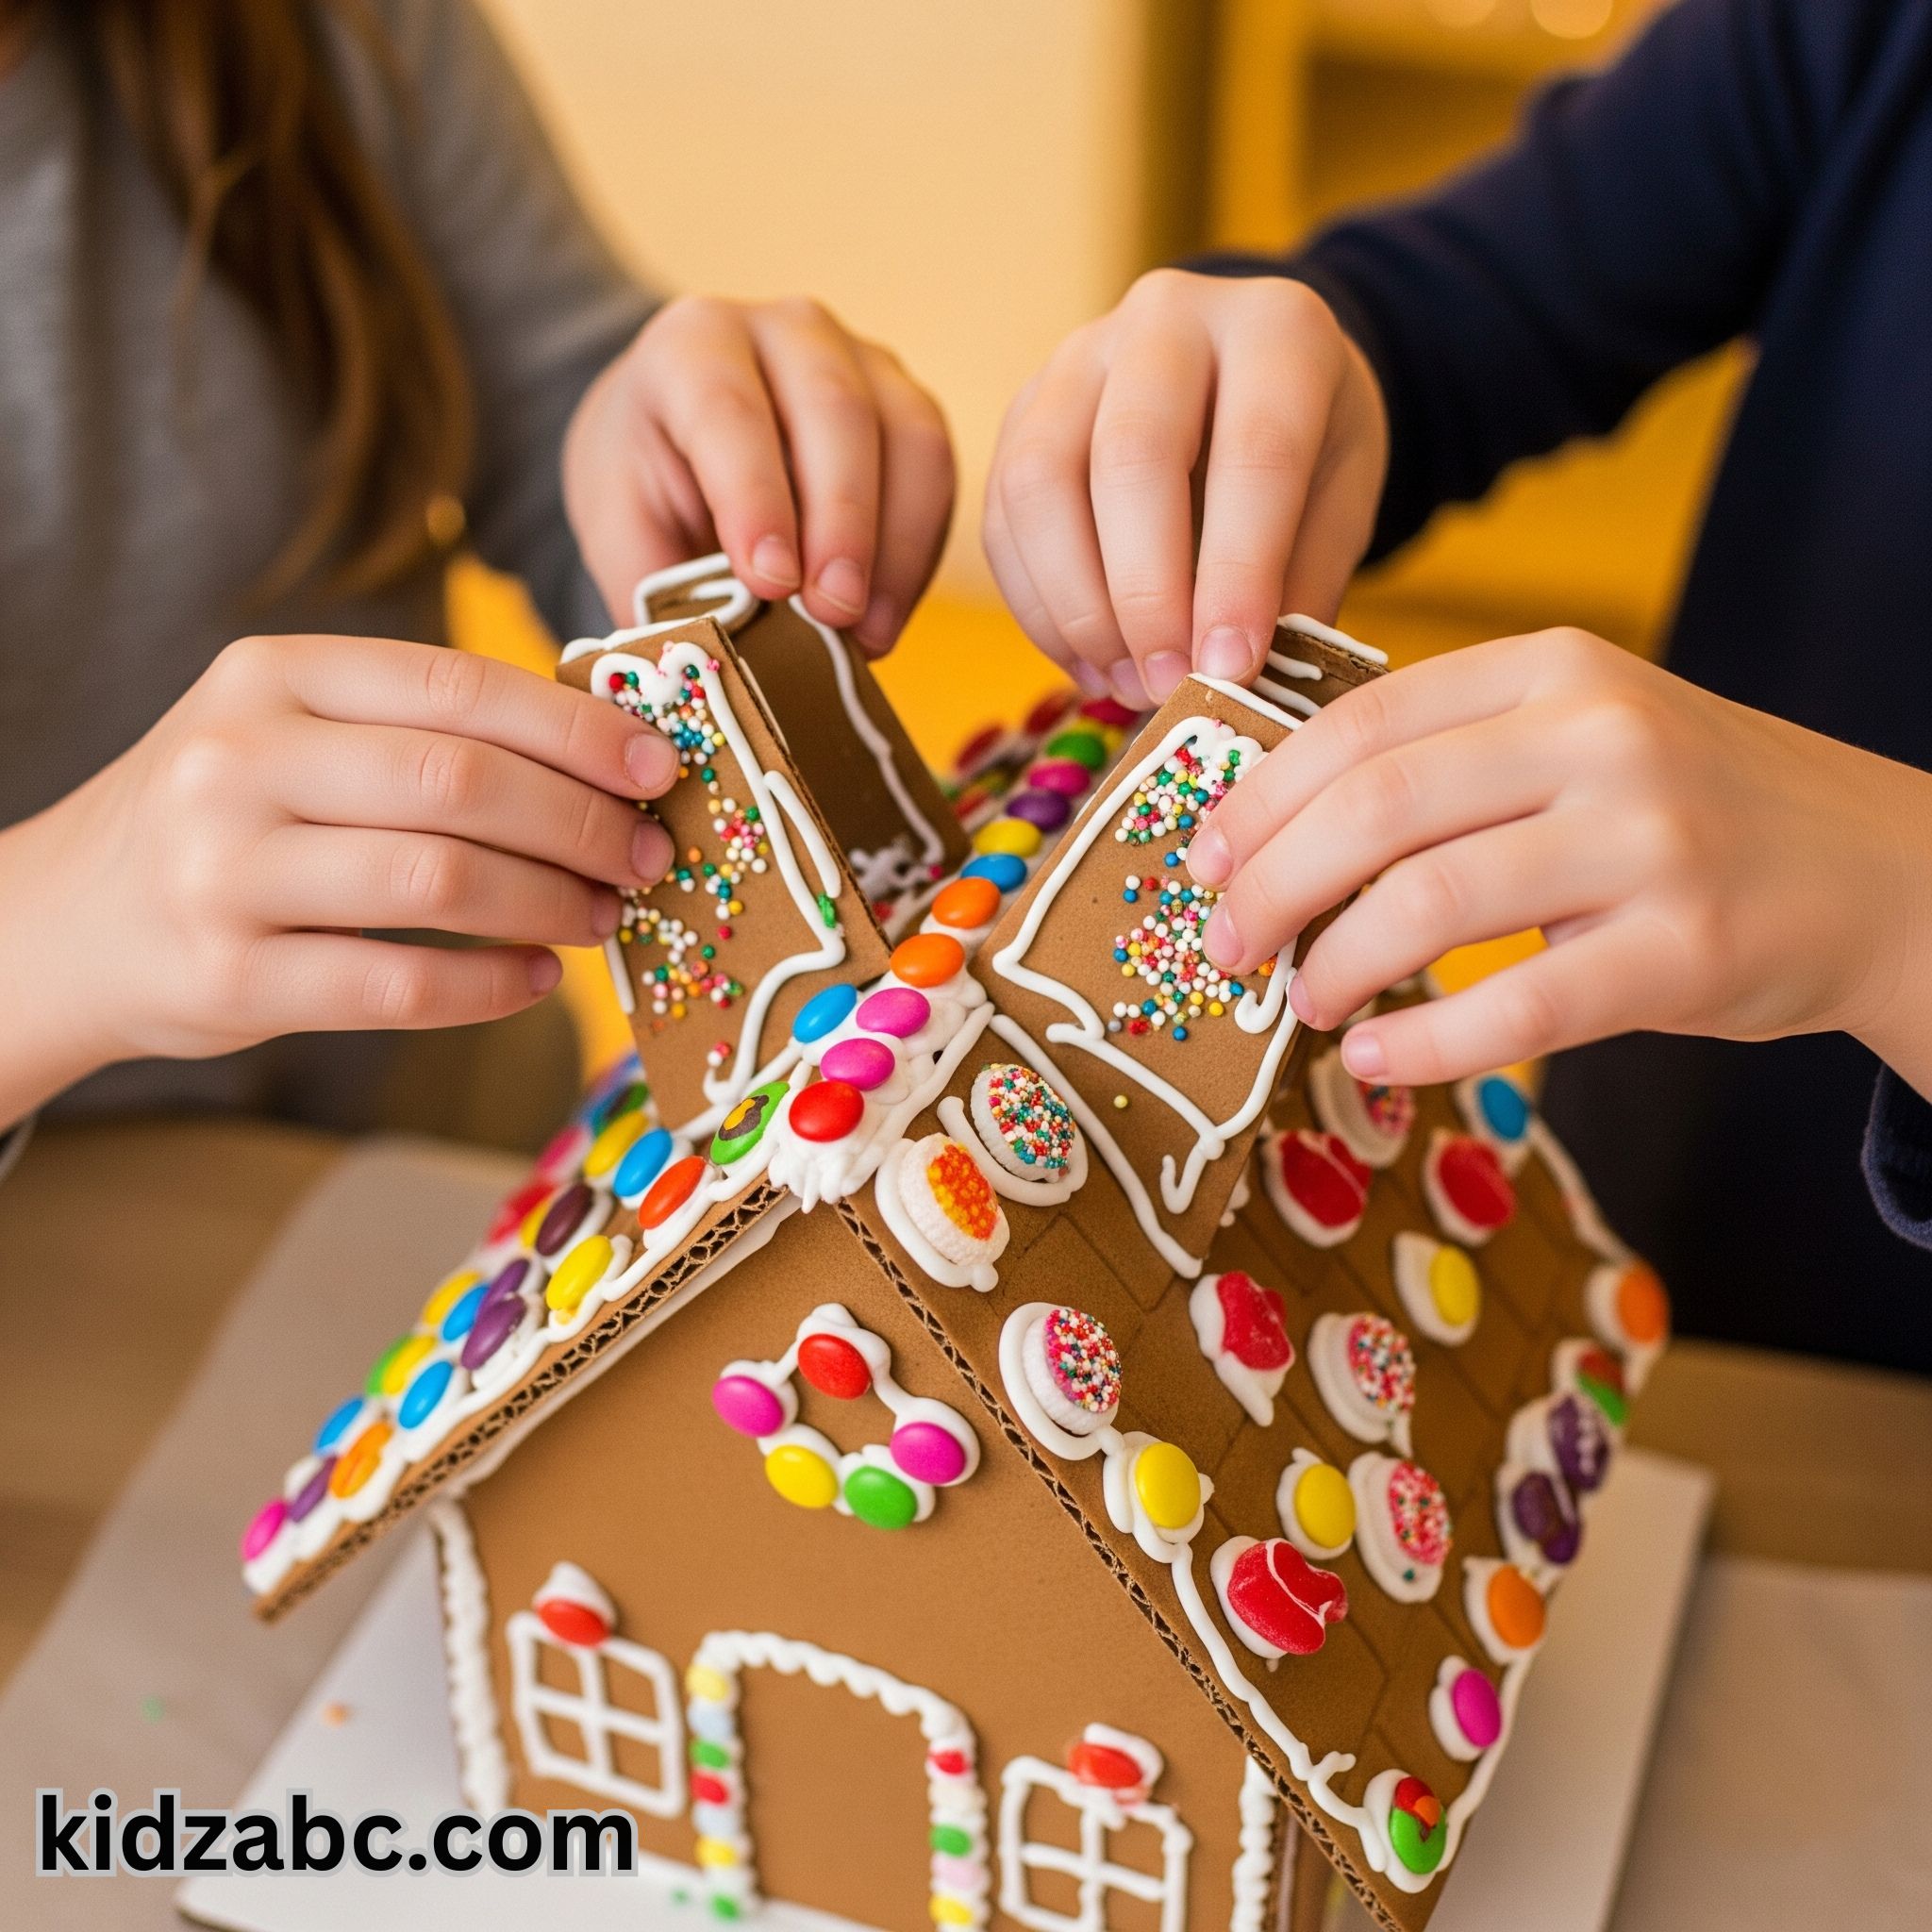
✨Step 8: Adding Decorative Elements
Once the paint is dry, start decorating your gingerbread house with various decorative elements. You can make it look like snow with glitter, create window cornices with buttons and beads, or create other designs.
✨Step 9: Decorating the Doors and Windows
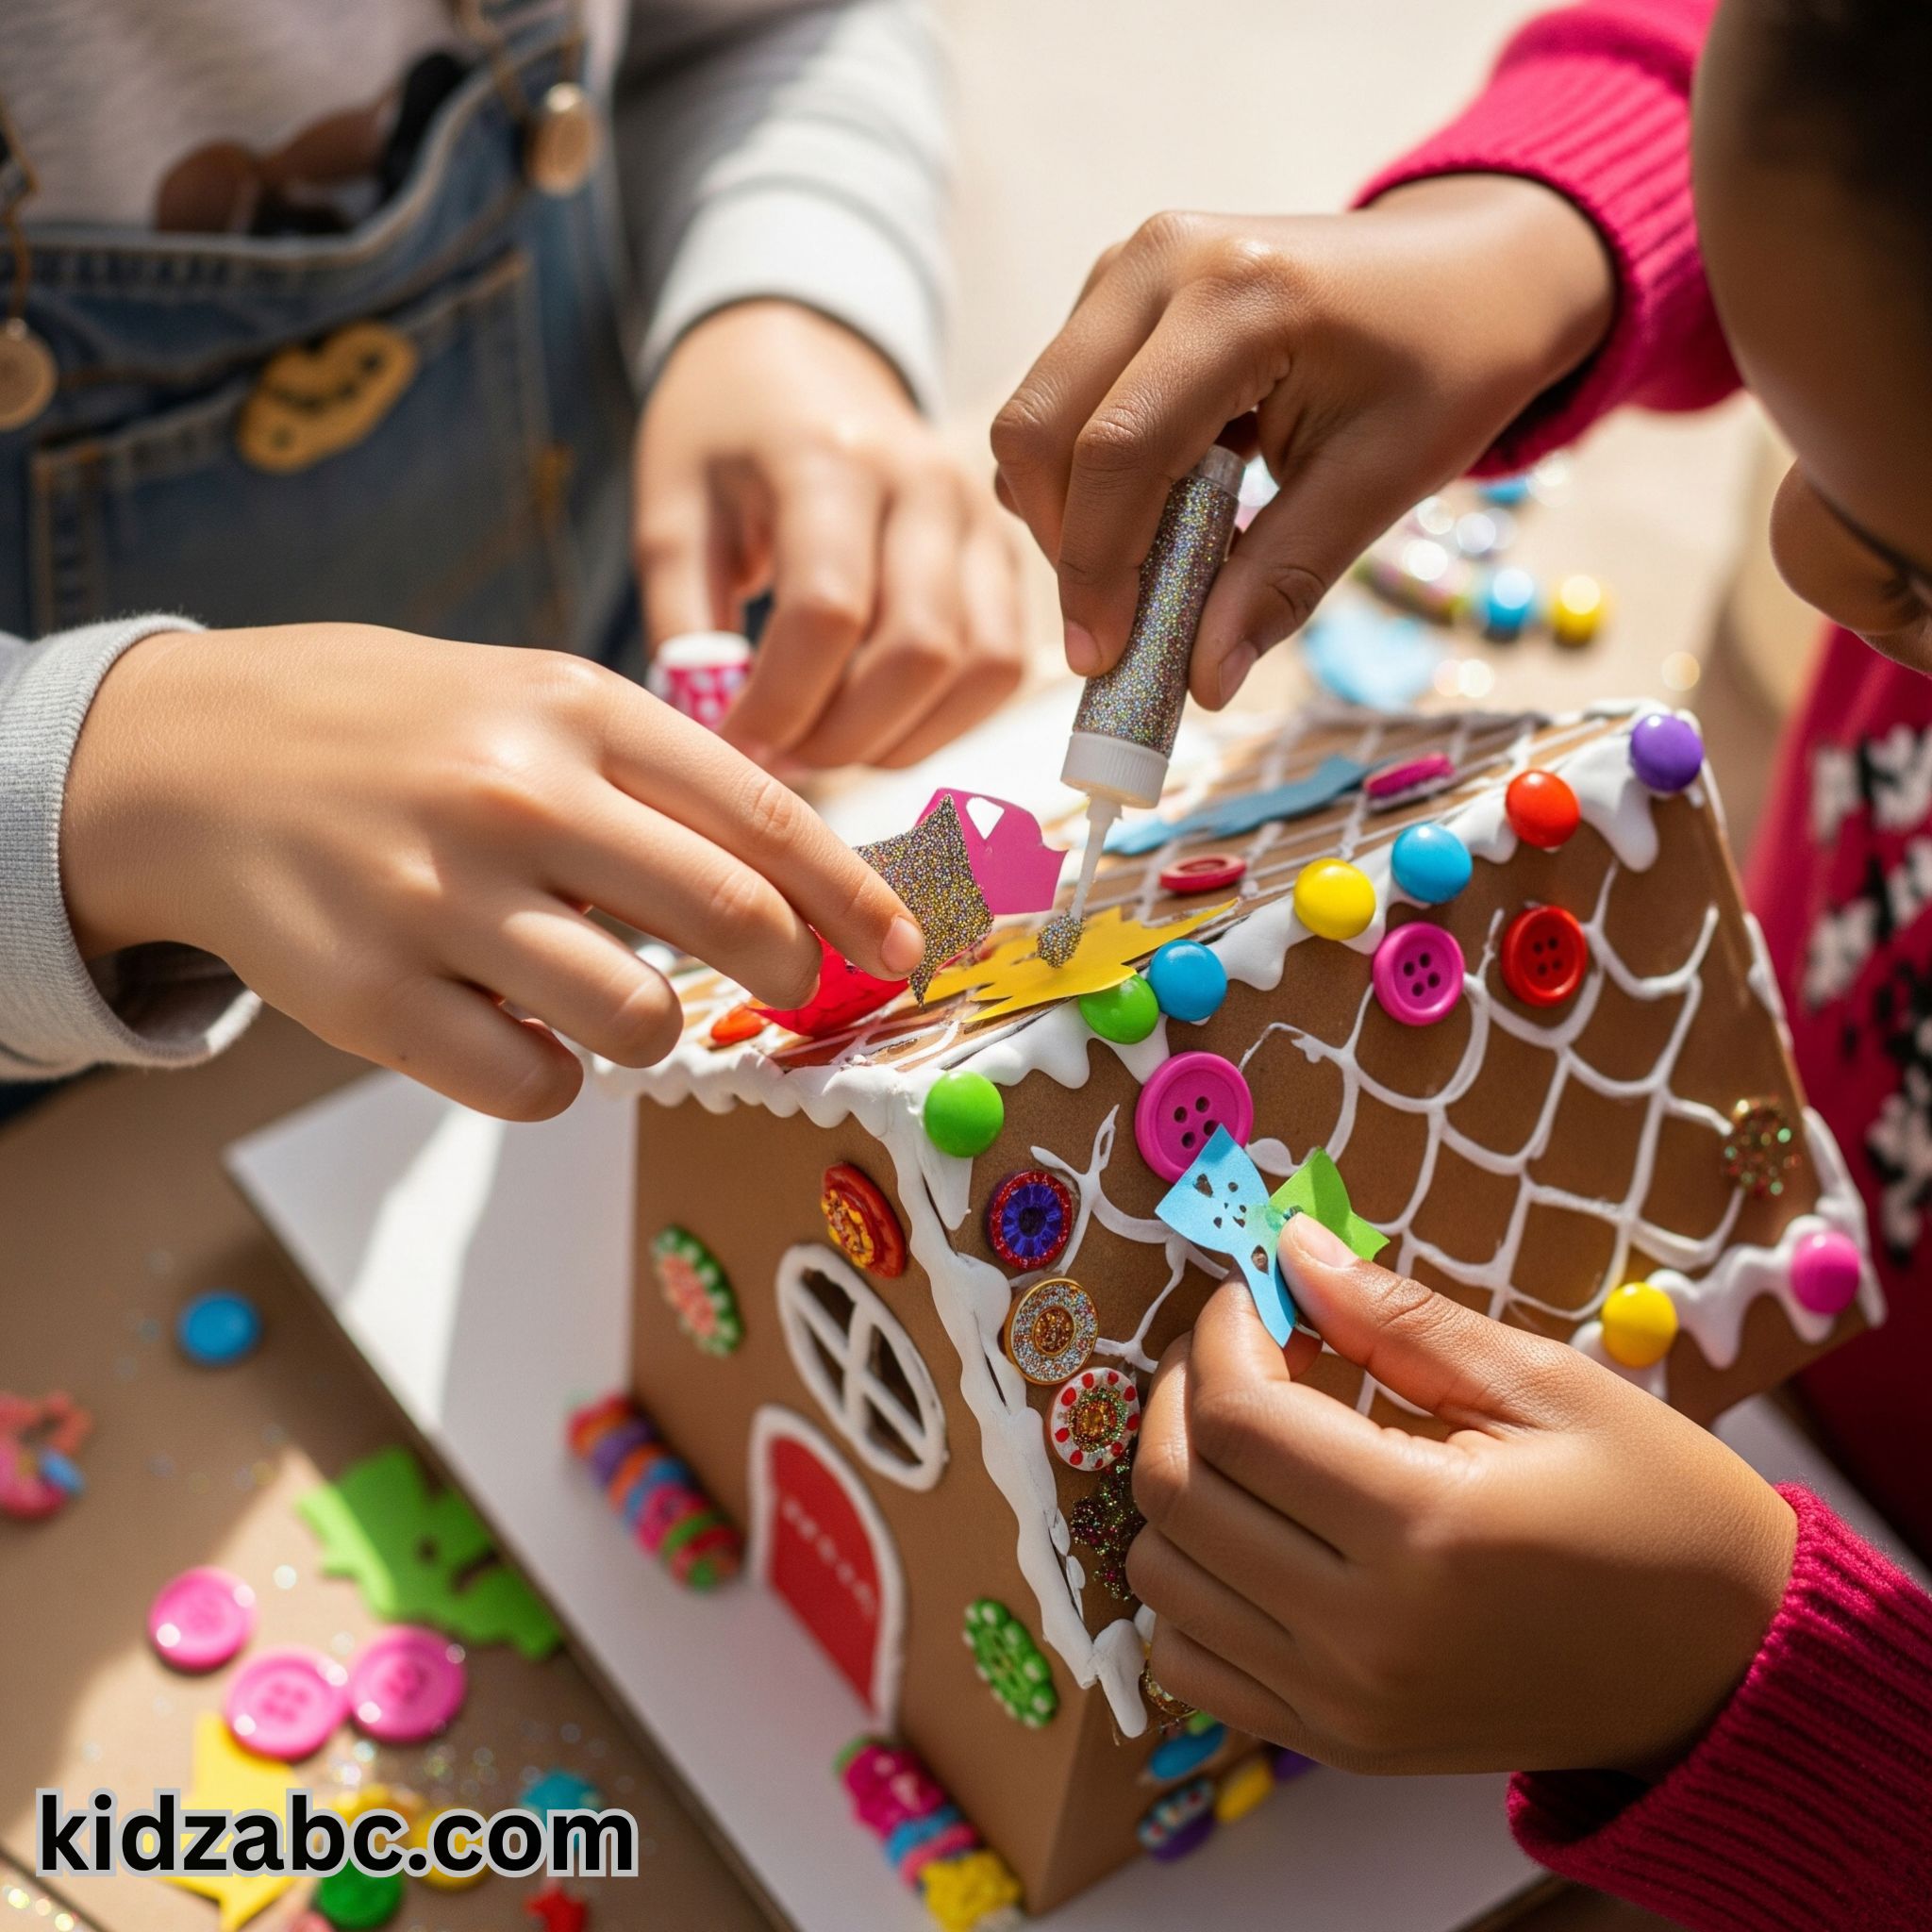
Create beautiful designs around the doors and windows with paper or any other material and attach them. You can also add small curtains or other decorations if you want.
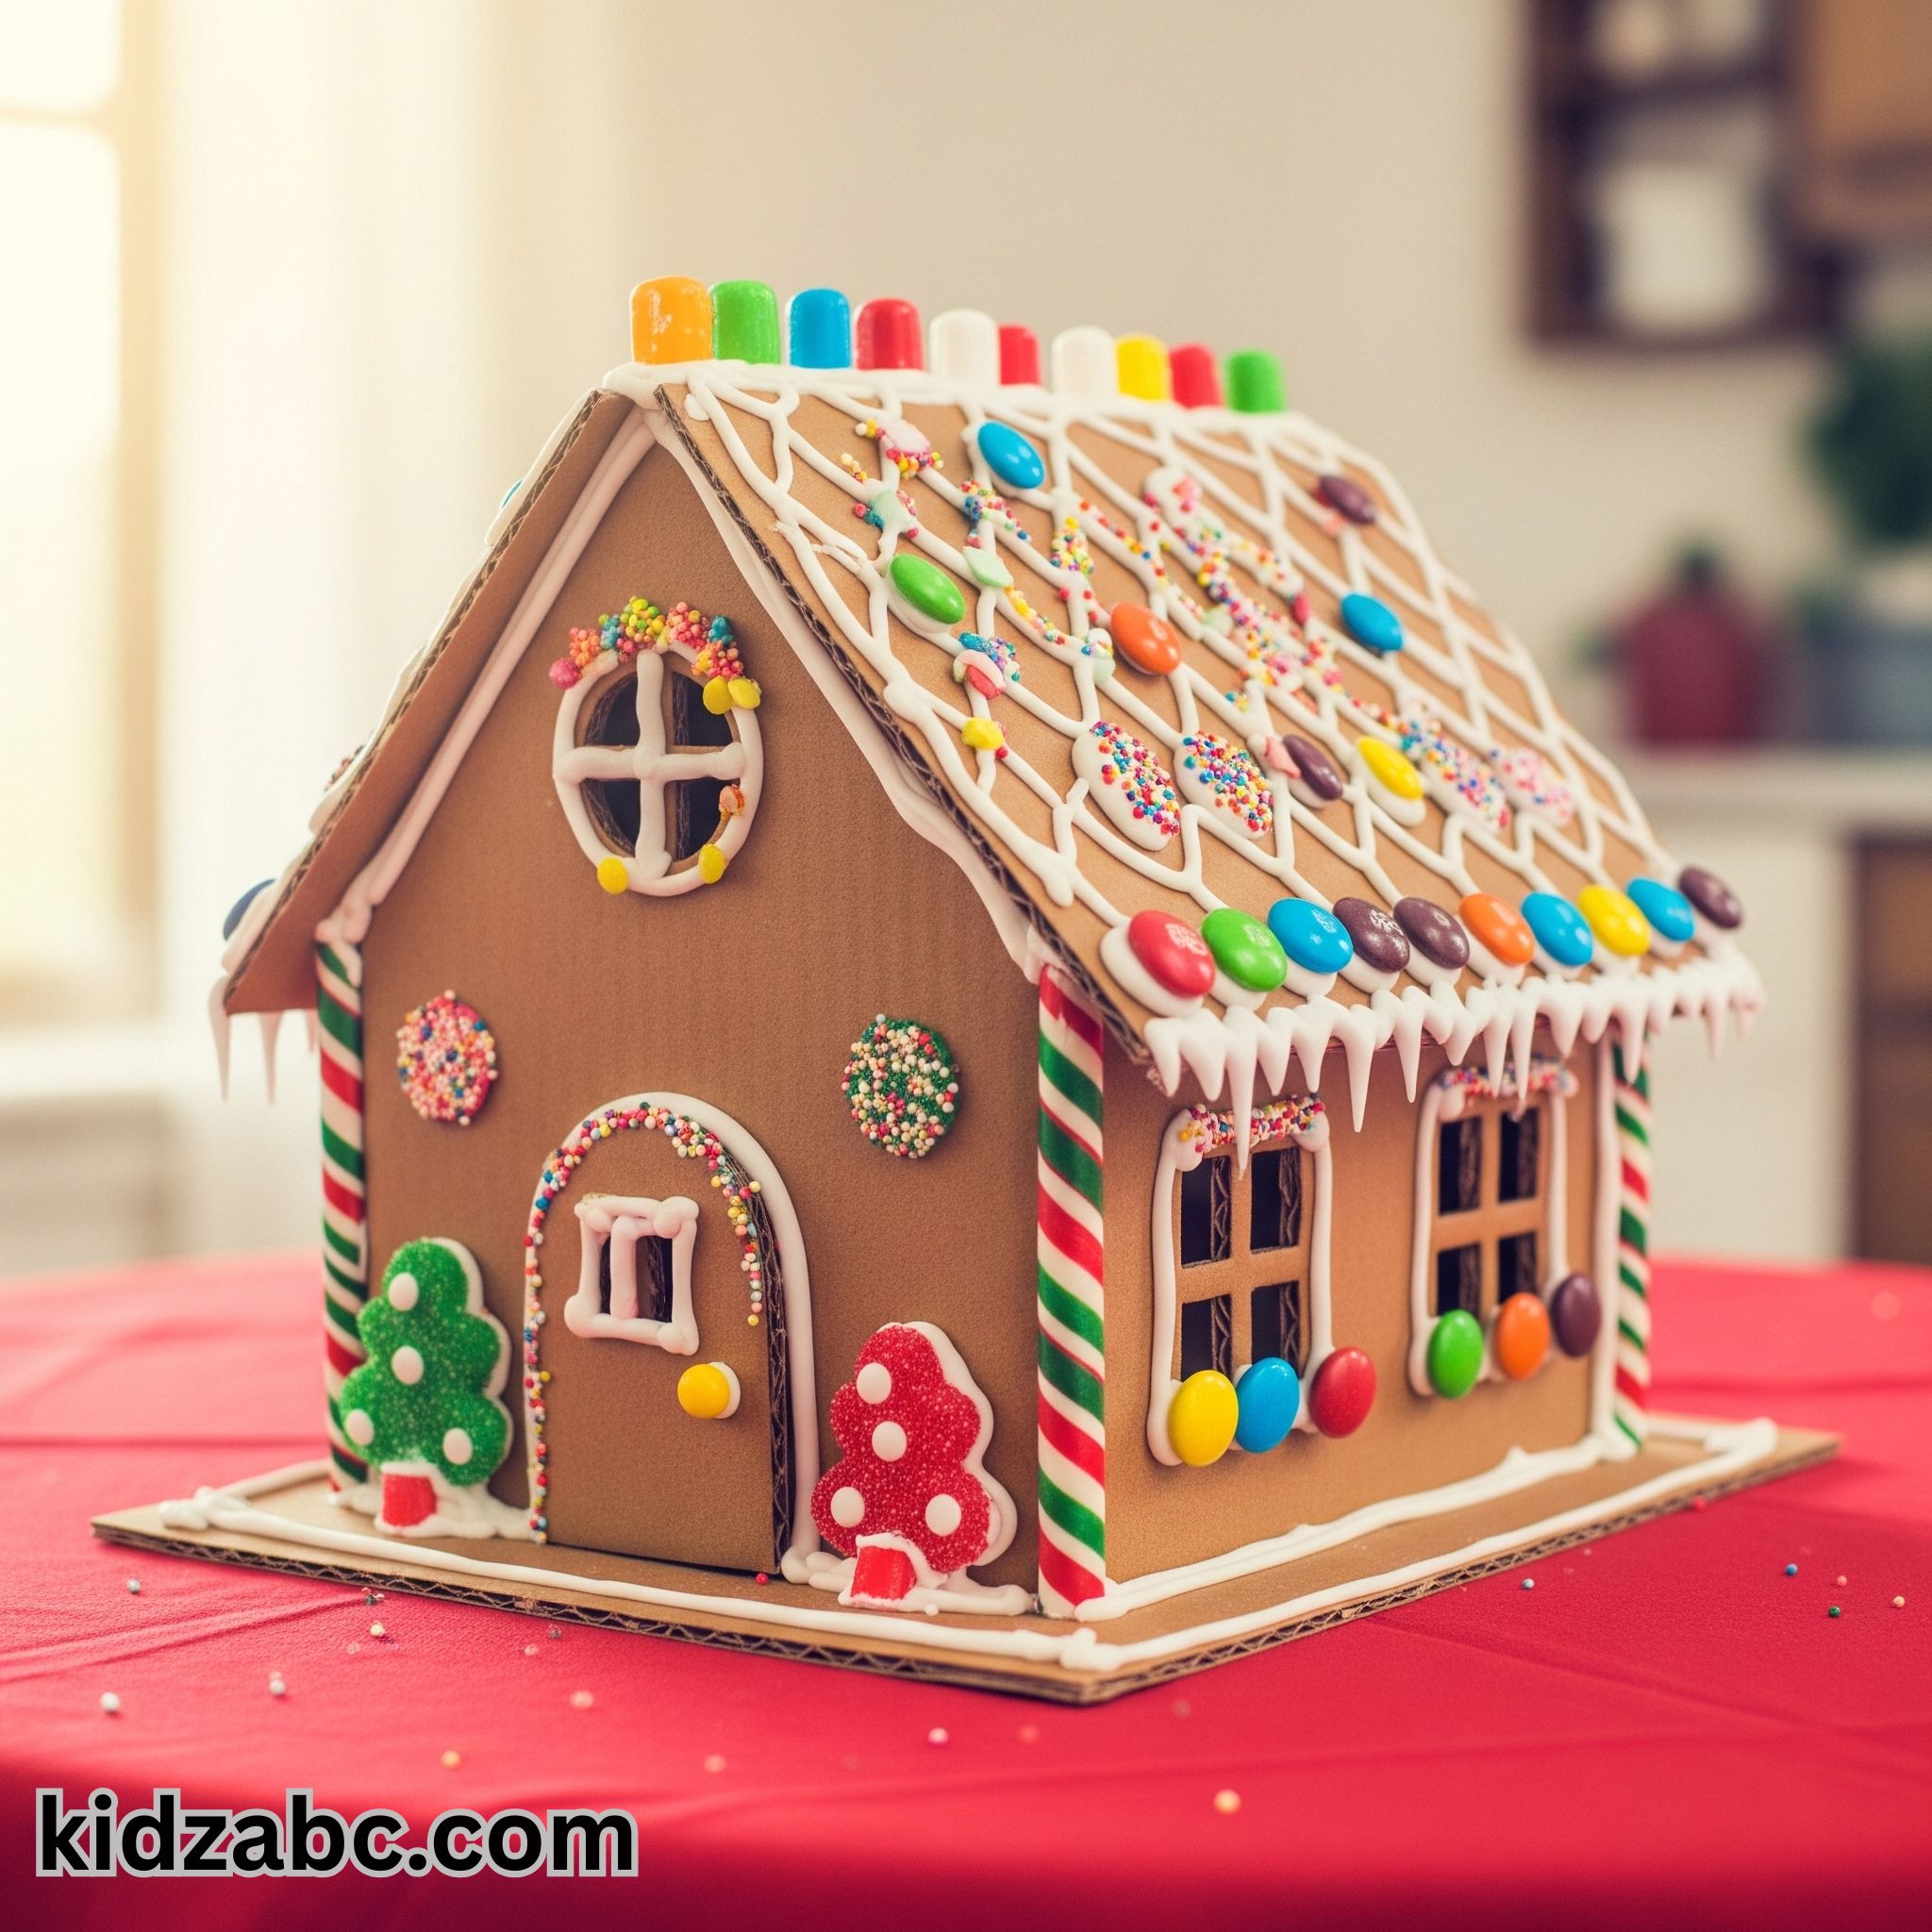
✨Step 10: Final Decoration and Display
Finally, you can add small plants or other decorations around your cardboard gingerbread house to make it more attractive. Once done, place it in a beautiful place and enjoy this beautiful work of art you have created!
Some advanced tips and creative ideas
Use of lighting: Place battery-operated fairy lights or LED tea lights inside the house. This will give the house a magical look in the evening. (Caution: Never use real candles).
Add texture: Before painting, apply sand or Epsom salt mixed glue to the walls to create a grainy texture.
Make a chimney: You can make a chimney by cutting a small cardboard roll (like a toilet paper roll) and attaching it to the roof. Blow cotton out of the chimney to resemble smoke.Create a theme: Instead of just making it a gingerbread house, you can also make a “Frozen” themed ice castle, or a spooky house for Halloween.
✅ Making a Cardboard Gingerbread House is a fun and educational activity. It not only encourages your kids’ creativity, but also helps them develop their patience and concentration. It is also an eco-friendly initiative as it uses up old cardboard. Hopefully, by following these 10 easy steps, you and your kids will be able to make a beautiful Cardboard Gingerbread House together.