

 Amit
Amit We all know that little ones are very curious. If we can harness this curiosity and give them an opportunity to learn, there is nothing better than that. Nature painting not only enhances their creativity, but also makes them aware of their environment. So, let’s start this fun journey without further delay!

📌What is Nature Painting?
Nature painting is the art of painting using natural materials, such as leaves, flowers, branches, grains, pebbles, and even soil. Instead of using conventional paints or brushes, we use the materials provided by nature as the medium for our artwork. It is both fun and environmentally friendly.
📌Why is Nature Painting Beneficial For Little Ones?
- This type of activity encourages children’s creativity and imagination. The different shapes, sizes and colors of nature inspire them to create something new. They learn how to use different things differently. For example, a leaf is not just a leaf, it can be an alternative to a brush or a special shape of a picture.
- This is a wonderful sensory experience for kids. When they touch and smell different natural elements, their five senses become alert. This helps them increase their attention and observation skills.
- Nature Painting makes children aware of their environment. They get the opportunity to know and love nature more closely. They can learn all this by hand.
- Helps to improve fine motor skills. Holding small branches, applying colors with leaves, arranging stones – these activities strengthen their finger and hand muscles, which later helps them learn to write.
All in all, Nature Painting is a fun and educational activity, which plays an important role in the physical, mental and emotional development of children. It teaches them to love and take care of nature, which is very necessary today. So, let’s connect our children with nature and make their childhood more colorful.
📌Let’s Learn To Draw Nature In 10 Easy Steps:
You don’t need a lot of supplies to do this fun project with your child. You can start with some simple items found around the house. Let’s learn step by step how we can create this fun nature painting.
Step 1 :
The first thing to do is spend some time in nature. Take your child for a walk in your garden, a nearby park, or any natural place. This time is very important for them. Encourage them to see, touch, and collect things around them.
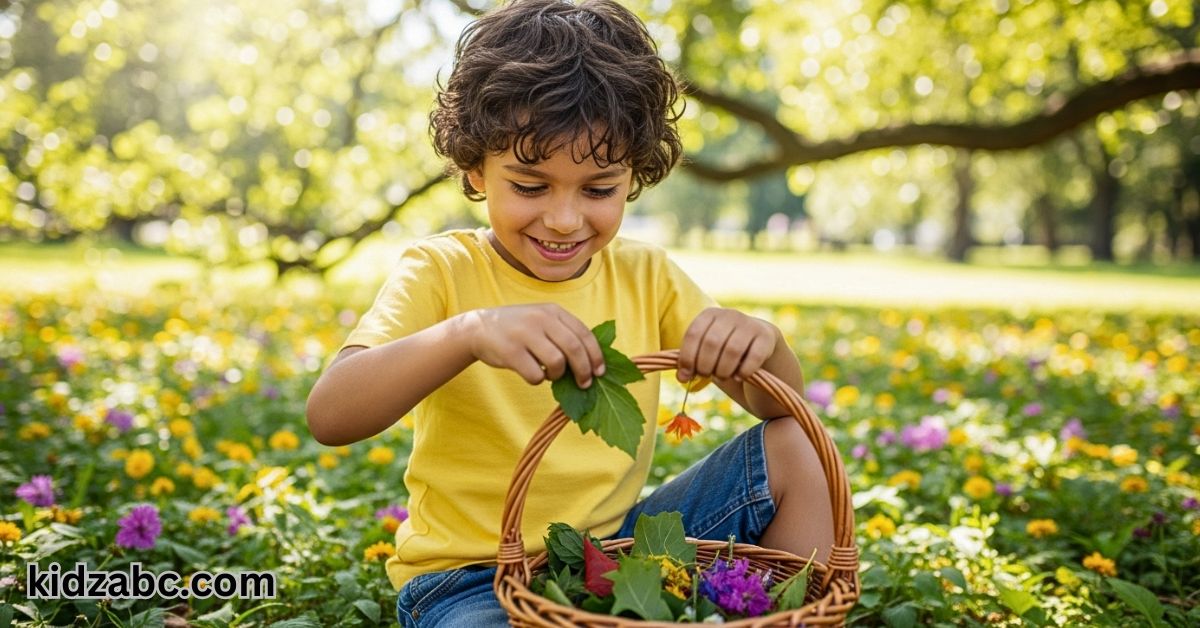
Step 2 :
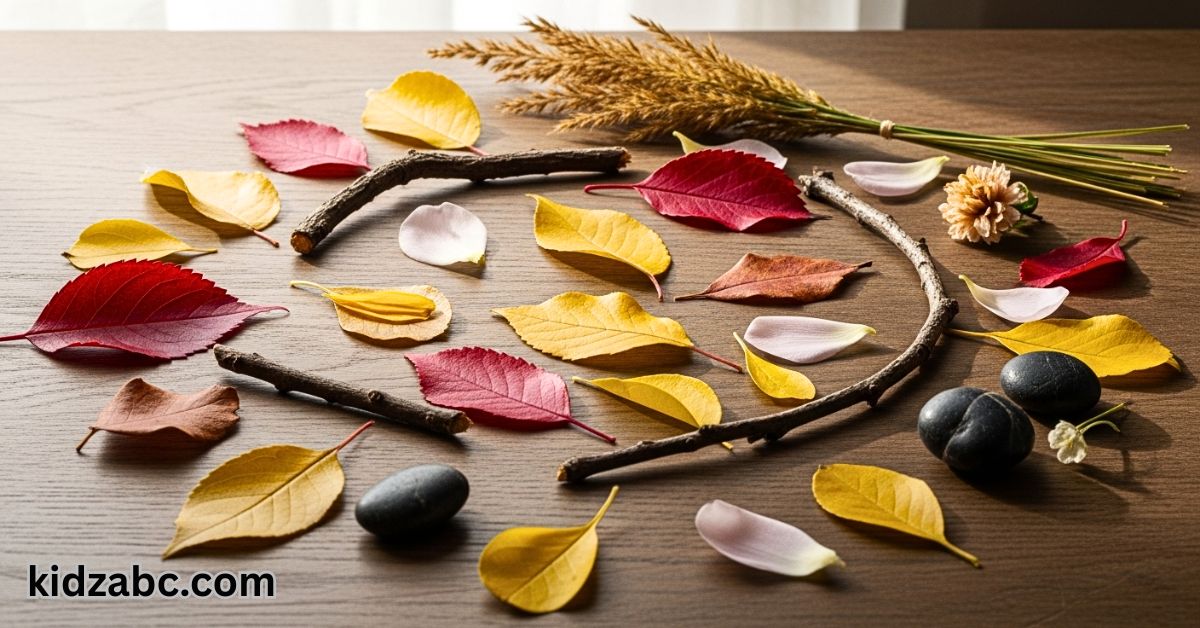
Now it’s time for fun! We need to collect the materials we need to draw a picture. What can we collect?
- Leaves of different shapes and colors
- Beautiful flowers or flower petals
- Small branches or sticks
- Grinds
- Dried grass or grains
- Even soil or sand can be used.
- Remember, only collect natural things.
Step 3 :
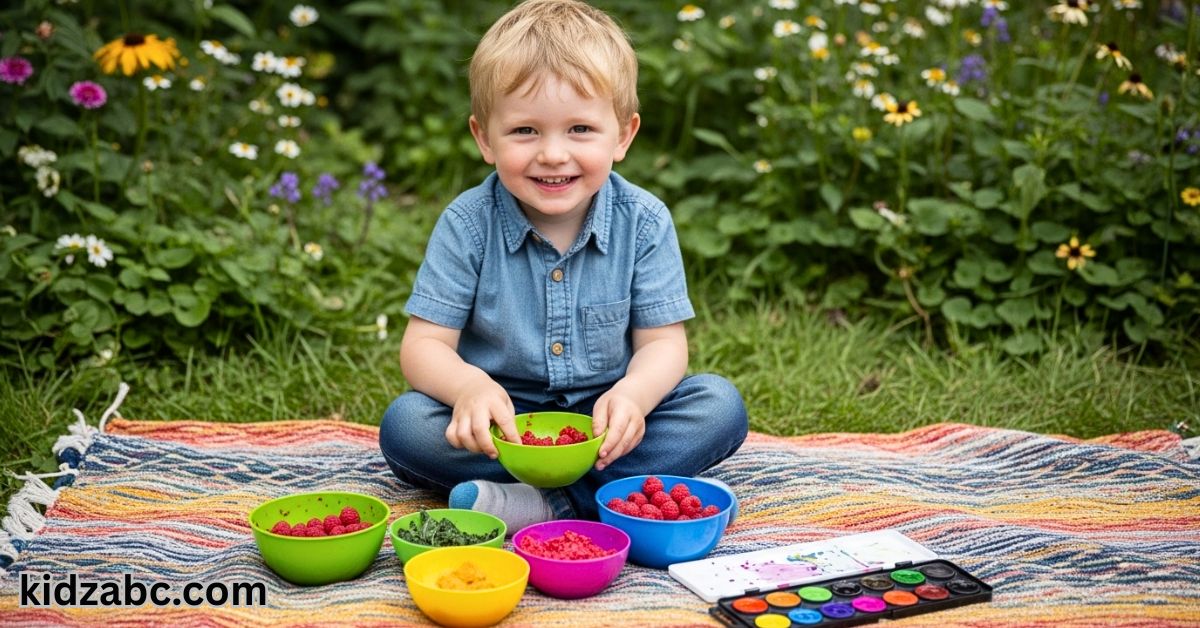
We can also make natural colors if we want! Turmeric powder can be used for yellow color, beet or berry fruit juice for red or pink color, spinach or mint leaf juice for green color. However, if you are short on time or find it difficult to make natural colors, then you can also use ordinary watercolor or poster paint. It is important to use safe colors for children.
Step 4 :
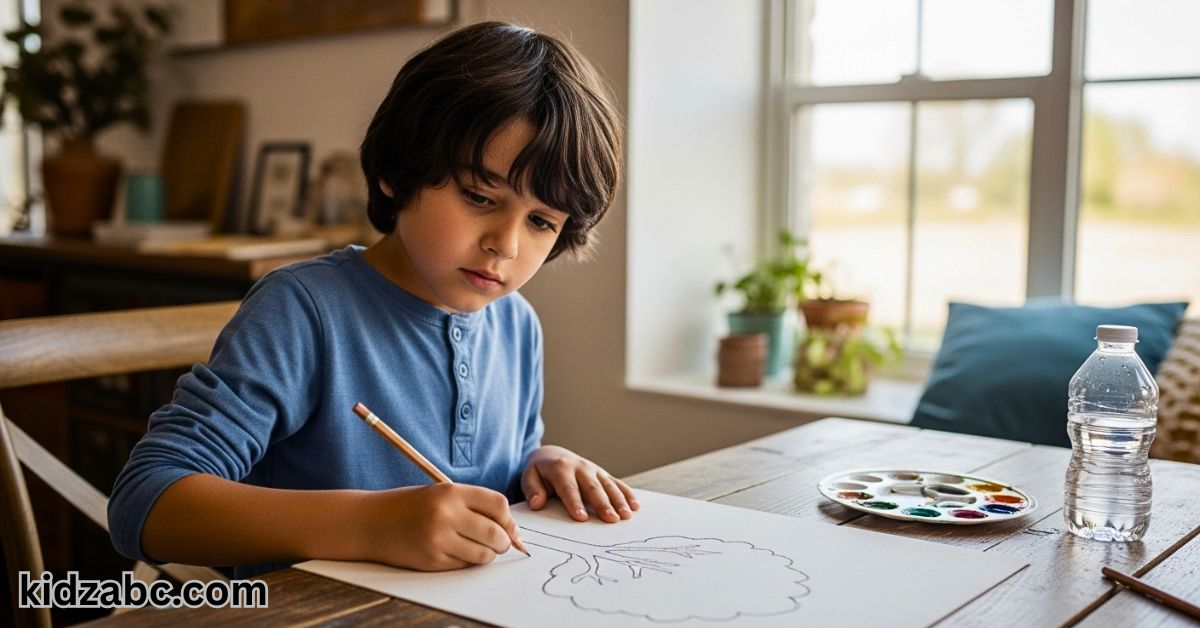
Now we need a canvas to draw on. Thick paper, cardboard, or even a piece of wood can be used as a canvas. If you want, you can draw a picture on the canvas with a light pencil, such as a tree, a flower, or the shape of an animal. This will make it easier for the little ones to draw.
Step 5 :
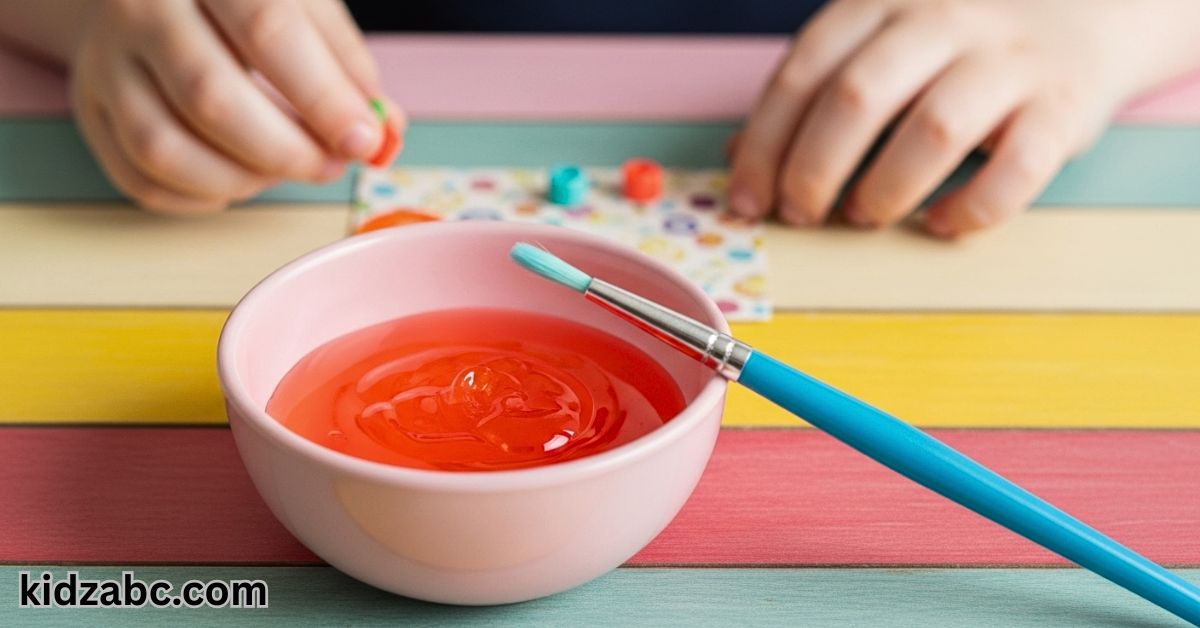
Now we need glue to stick the natural objects to the canvas. Craft glue or Fevicol, which are safe for little ones, can be used. Take the glue in a small bowl and teach them to apply it with a brush, which is a good practice for them.
Step 6 :
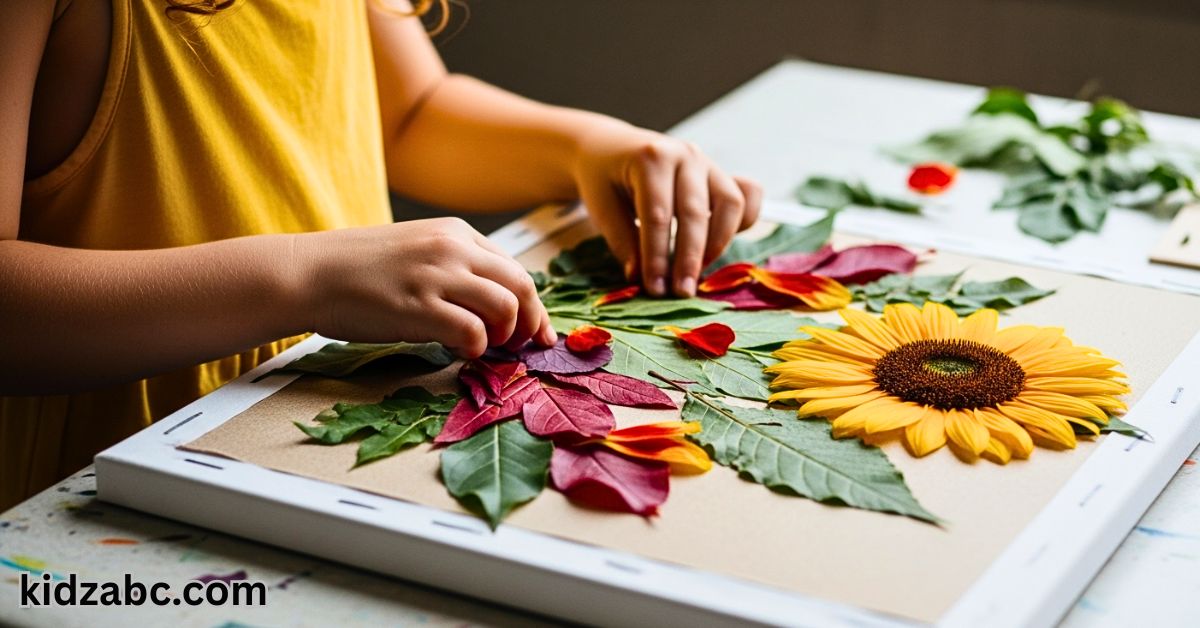
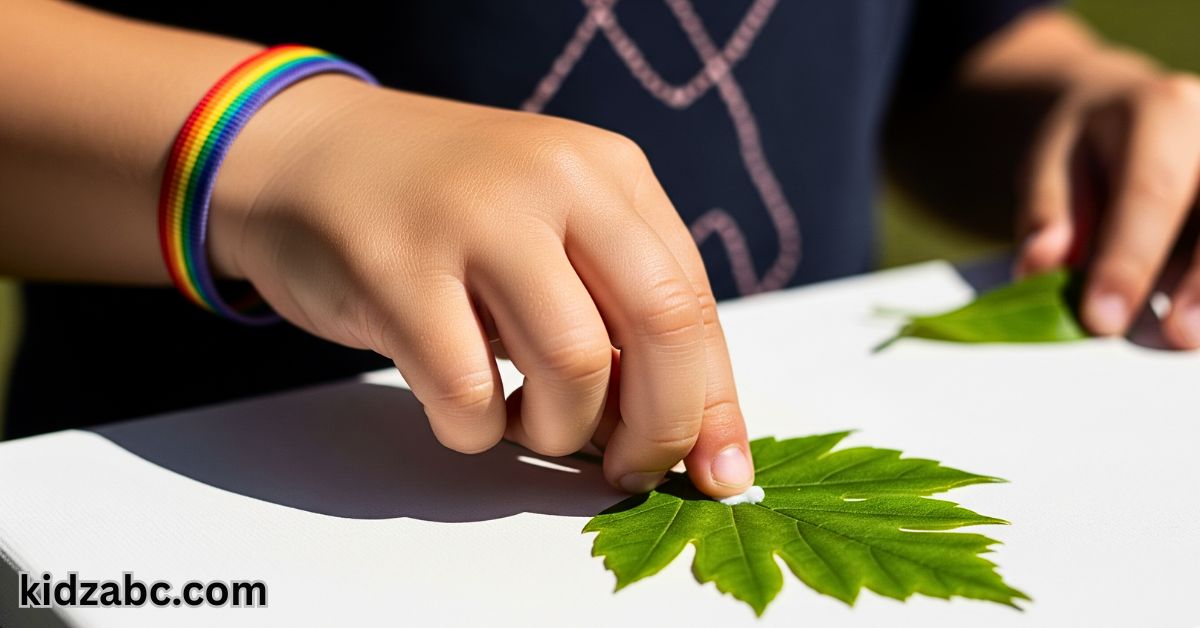
Now the real fun begins! Create different designs on the canvas with the collected materials. Encourage the little ones to decorate the objects as they like. Ask them what they want to make and help them use their imagination. For example, a tree branch can be used as a tree trunk, and the leaves can be the leaves of the tree.

Step 7 :
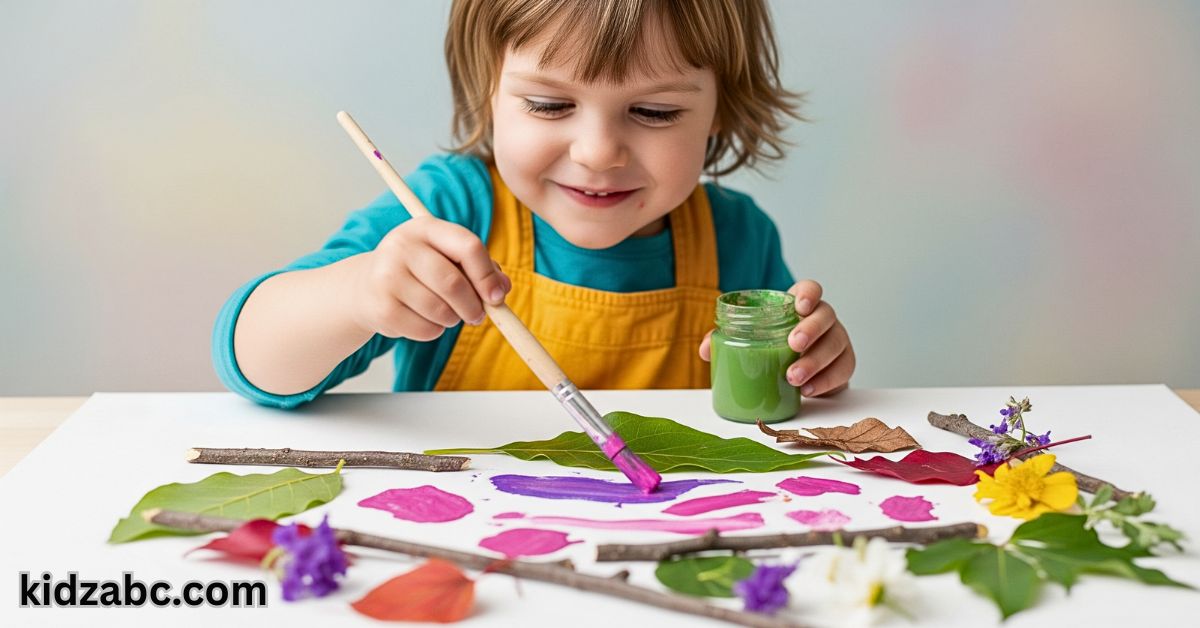
If you want to use color, you can now paint over the collected elements or on the empty space on the canvas. You can make them brighter by adding green to the leaves of the trees or red to the petals of the flowers.
Step 8 :
Once the elements are arranged, carefully glue them to the canvas. Teach the little ones how to glue the objects together using a small amount of glue. You can help them if needed.
Step 9 :
Once everything is glued, leave the picture to dry thoroughly. This can usually take anywhere from a few hours to a day, depending on the type of glue and the weather. The picture will be stronger as it dries.
Step 10 :
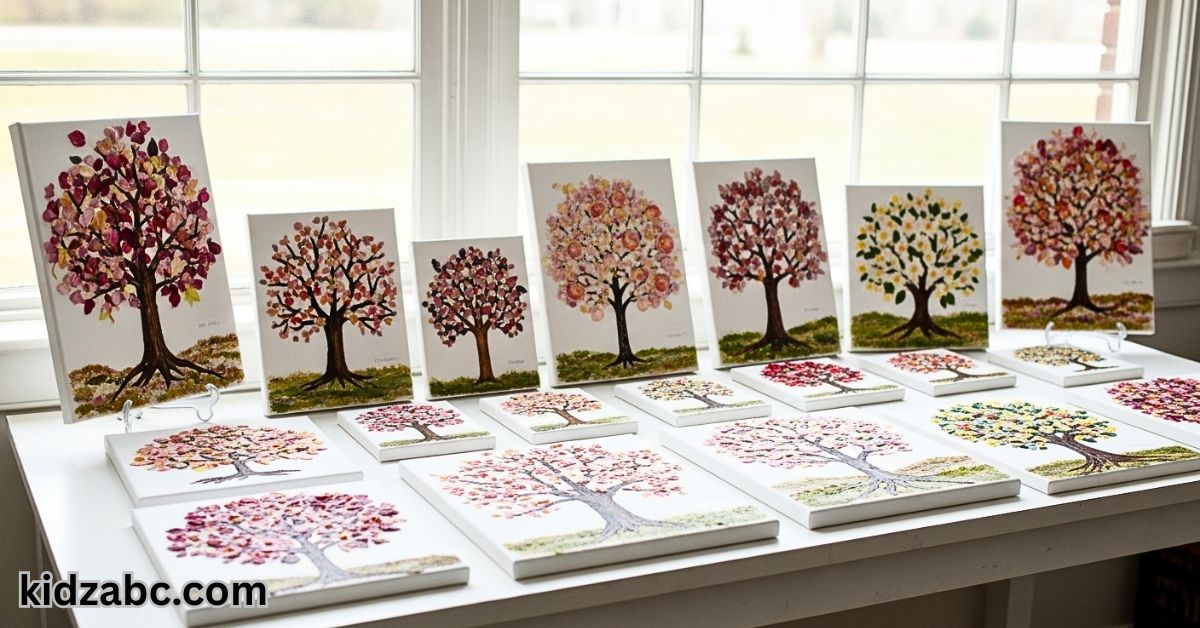
Congratulations! Your nature painting is now complete. Now, hang this beautiful piece of art your child has created on the wall or on the fridge. Recognizing their work will encourage them and encourage them to do more creative work in the future.

✅ Nature painting is truly a wonderful activity for little ones. It not only entertains them, but also helps them learn about nature, be creative, and become environmentally conscious. Through this activity, they learn to see the world around them with new eyes and their love for nature deepens.
So why wait? Get out into nature with your child today, gather a variety of materials, and begin your own nature painting journey! I’m sure this experience will be a joy for both of you.